Our Process: Expert Garage Epoxy Flooring Installation in Salt Lake City
At EpoxyCans, we’ve developed a seamless process to deliver durable, beautiful epoxy floors for garages, trailers, and residential spaces. Below, we outline the process for a typical installation. Please note that the timeline may vary depending on the size of the space, the system selected, and any customizations requested.
Step 1: Consultation and Quote
Every project begins with a personalized on-site consultation. Our expert team visits your garage to take precise measurements and assess the condition of your concrete. We conduct thorough tests, including MVER (moisture vapor emission rate), flatness, and hardness, ensuring your floor will withstand the demands of epoxy coatings.
Using the latest technology, we’ll create a detailed digital floor plan and discuss custom options, such as epoxy systems, decorative flakes, quartz finishes, and protective coatings. Unlike others, we provide tailored solutions to meet your specific needs, ensuring durability and aesthetic appeal.
After the consultation, we’ll send you a clear, competitive quote. Once approved, we’ll schedule your project to start within one to two weeks, based on availability and customization requirements
Step 2: Day 1 – Surface Preparation

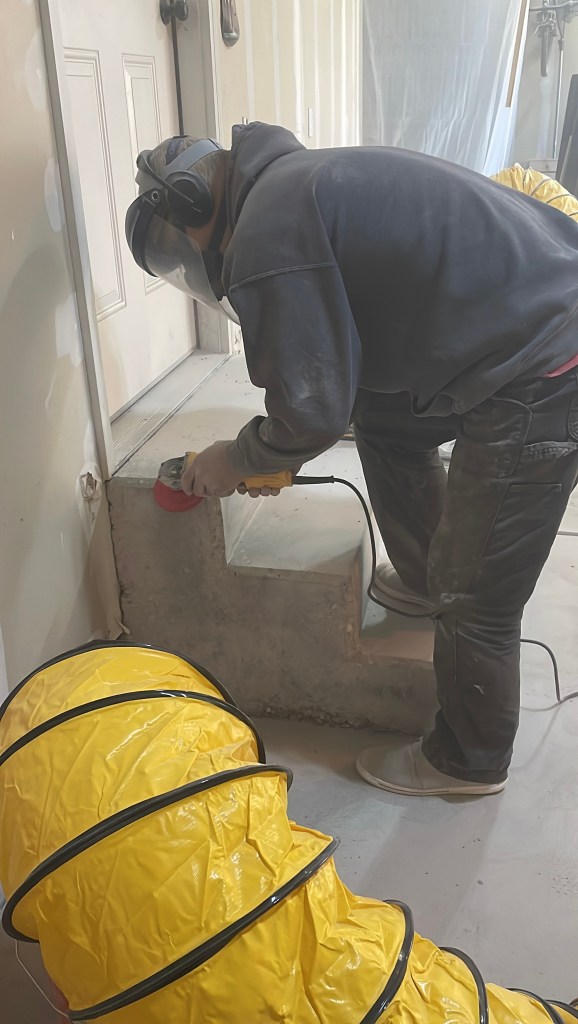
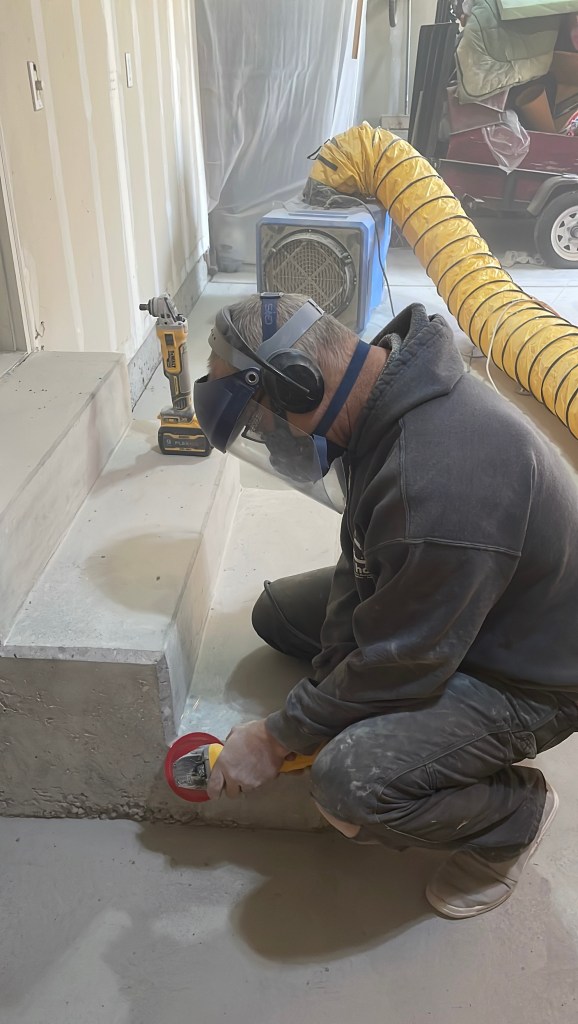
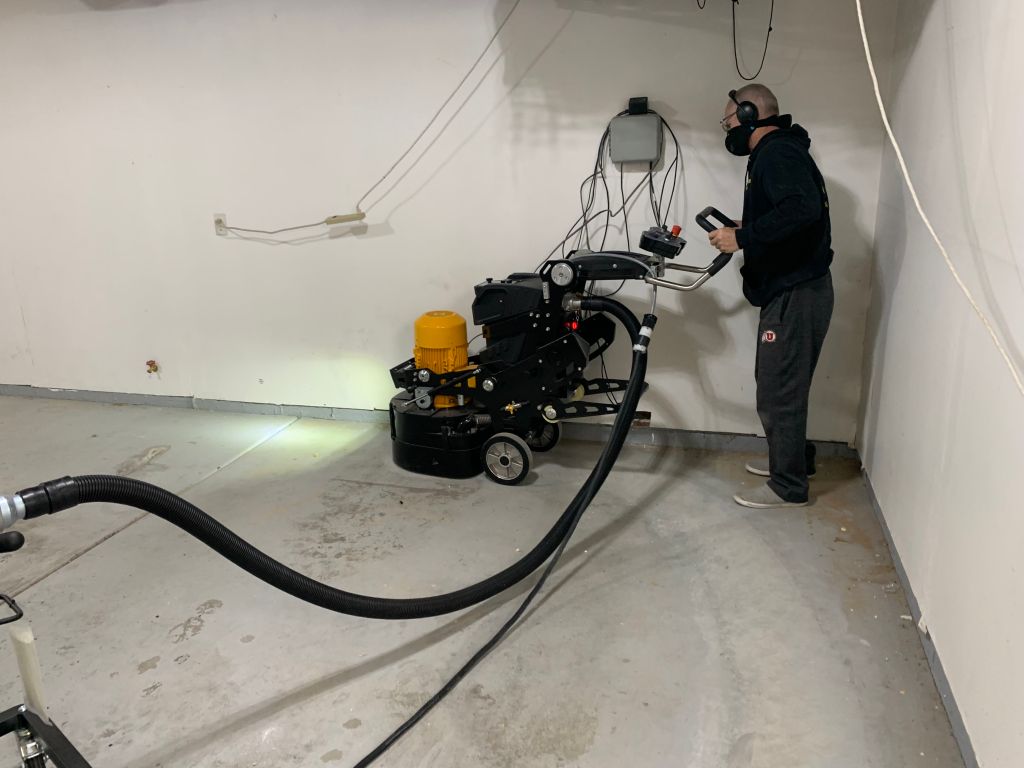
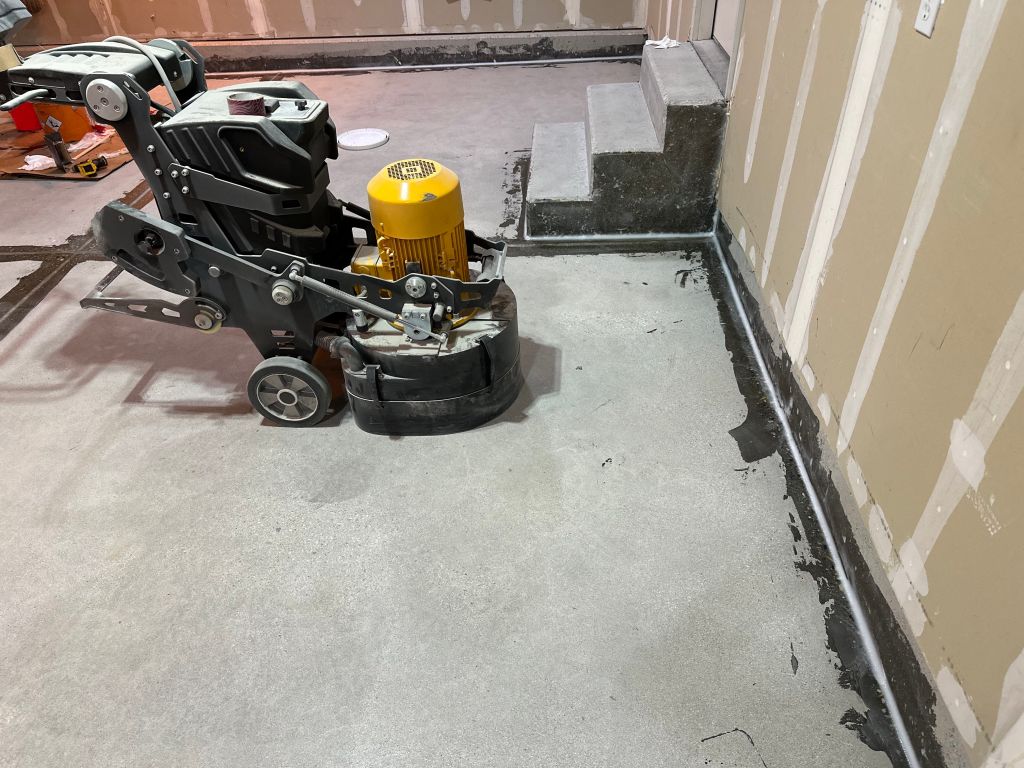
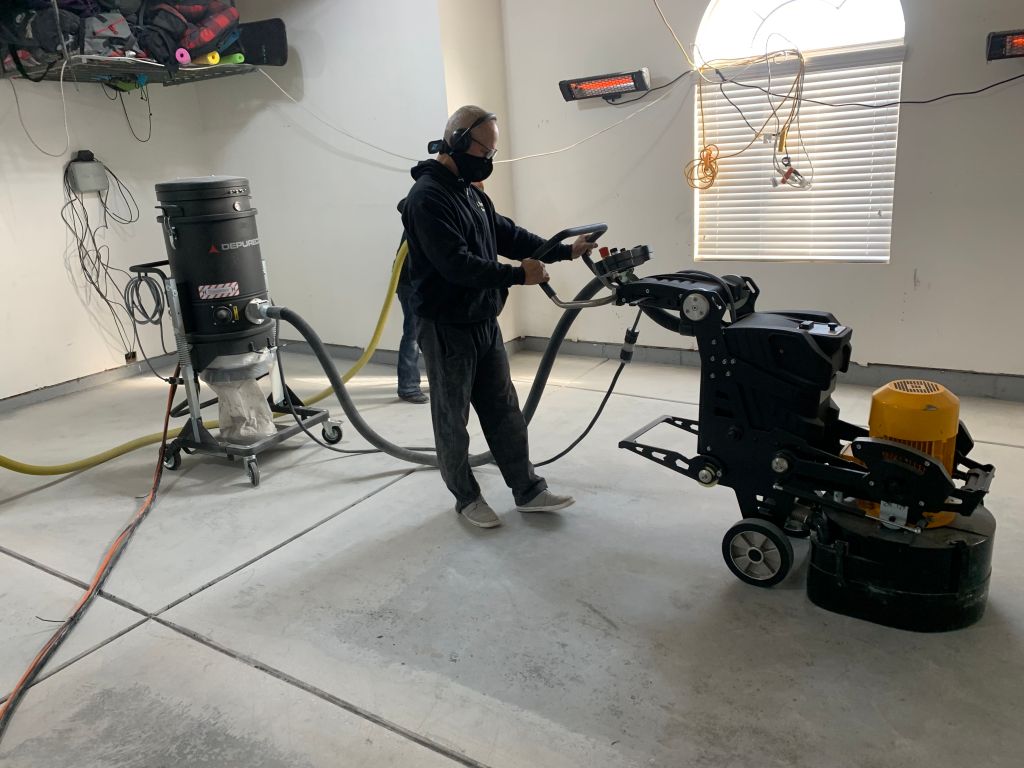
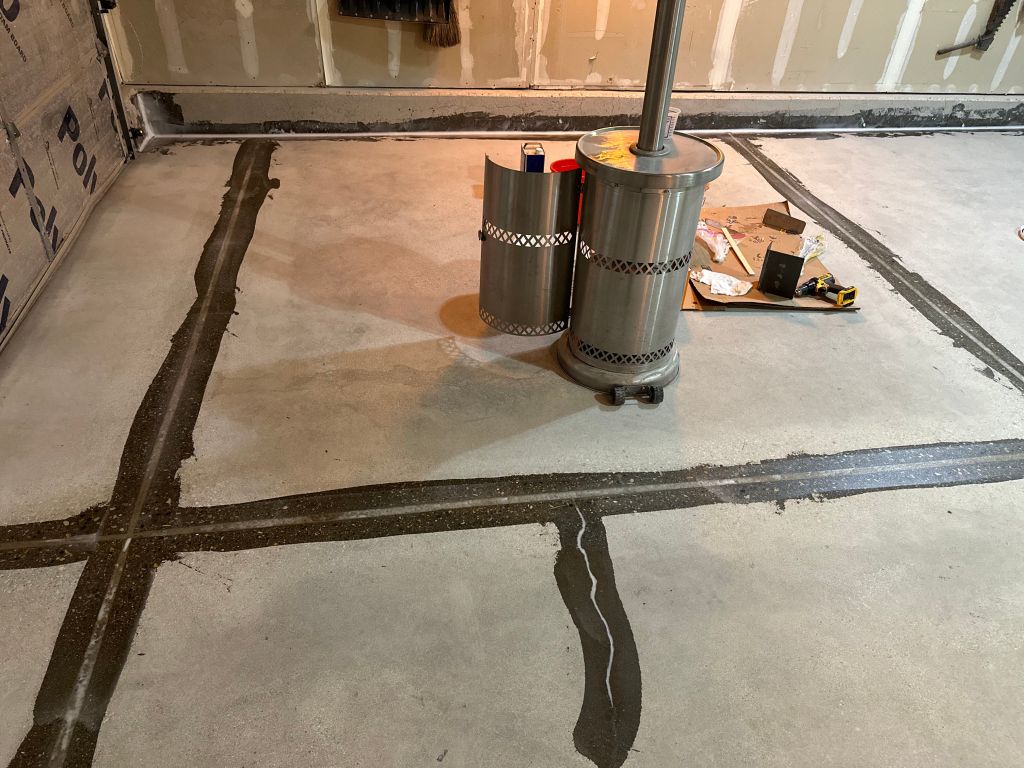
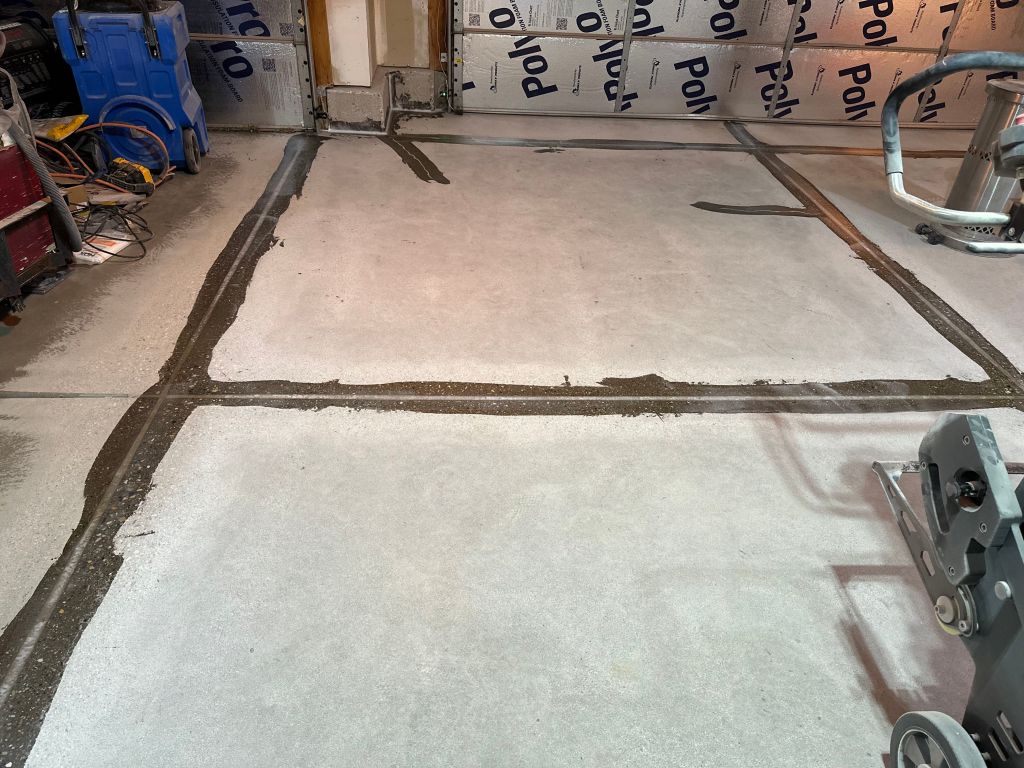
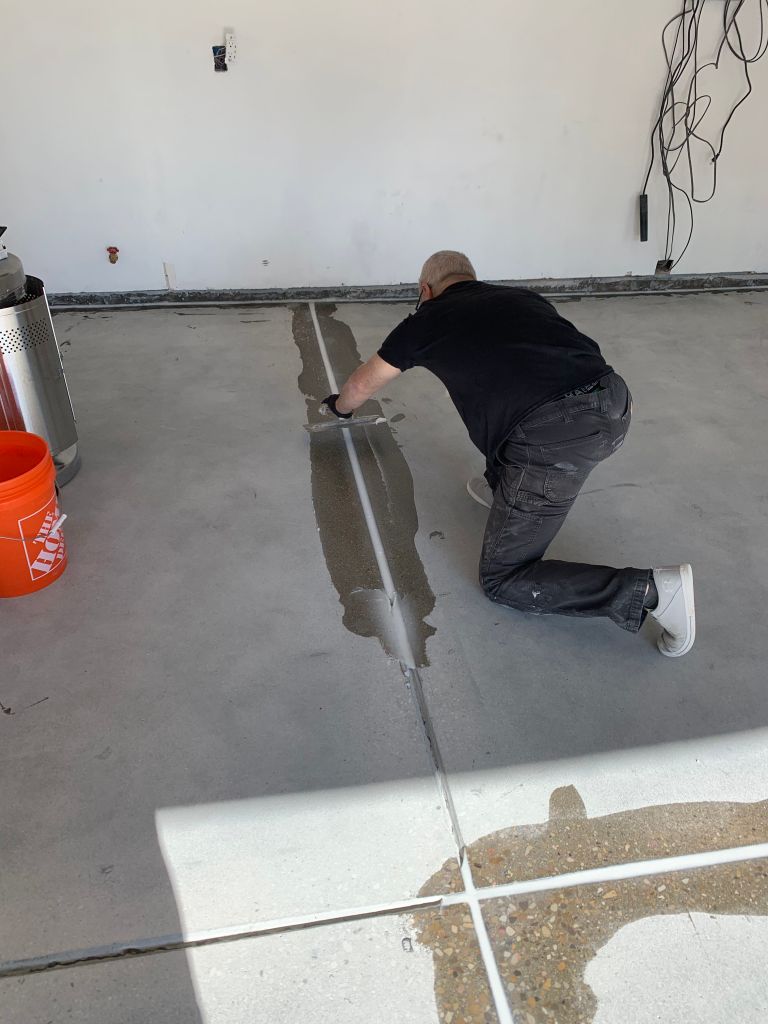
The first day is focused on preparing the concrete surface, a critical step for achieving a long-lasting finish.
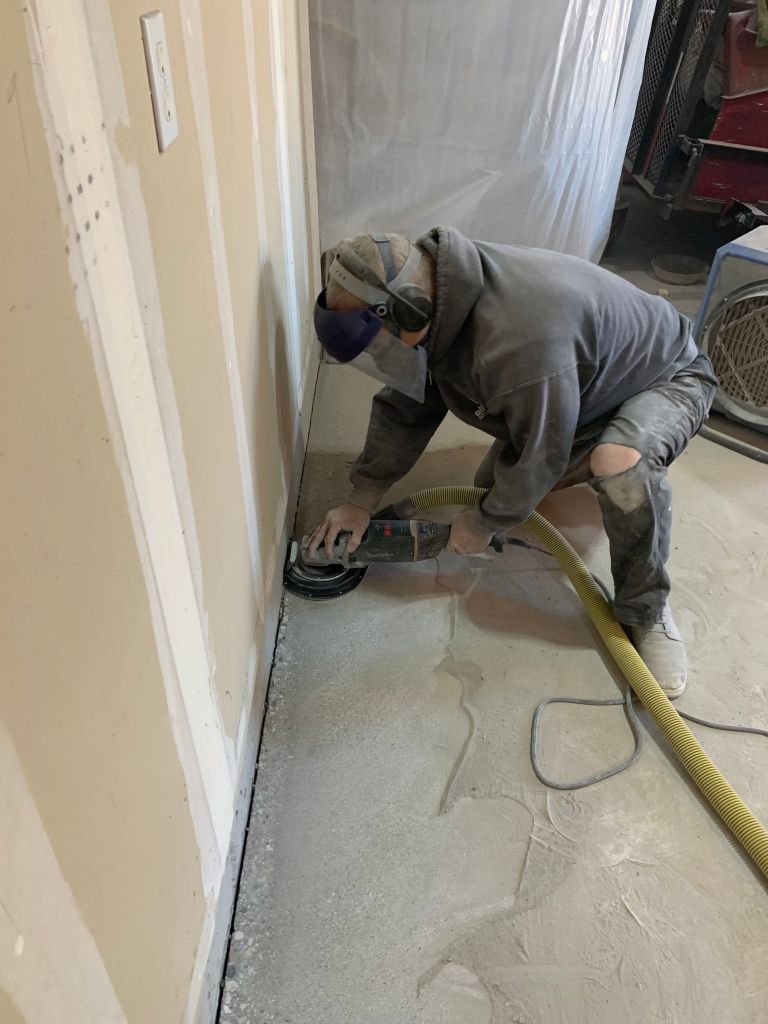
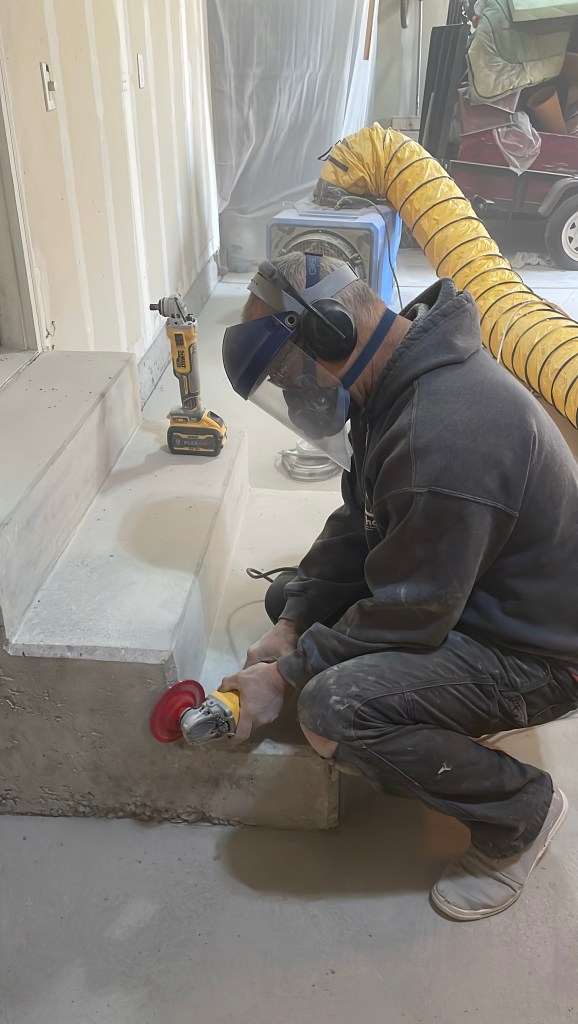
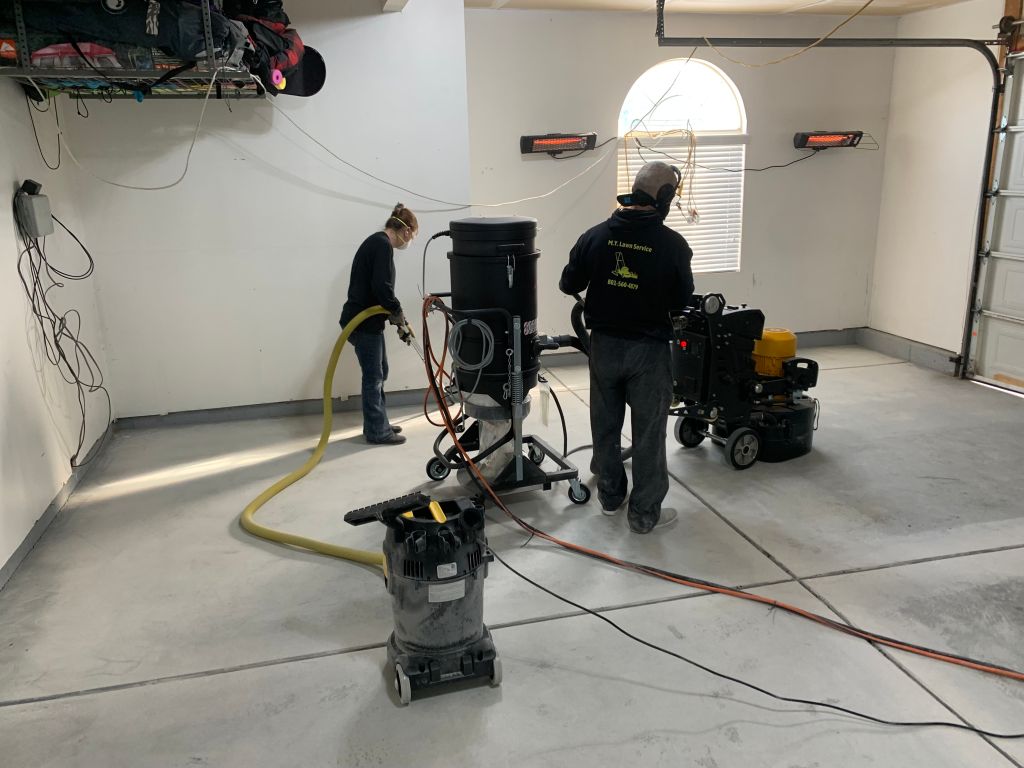
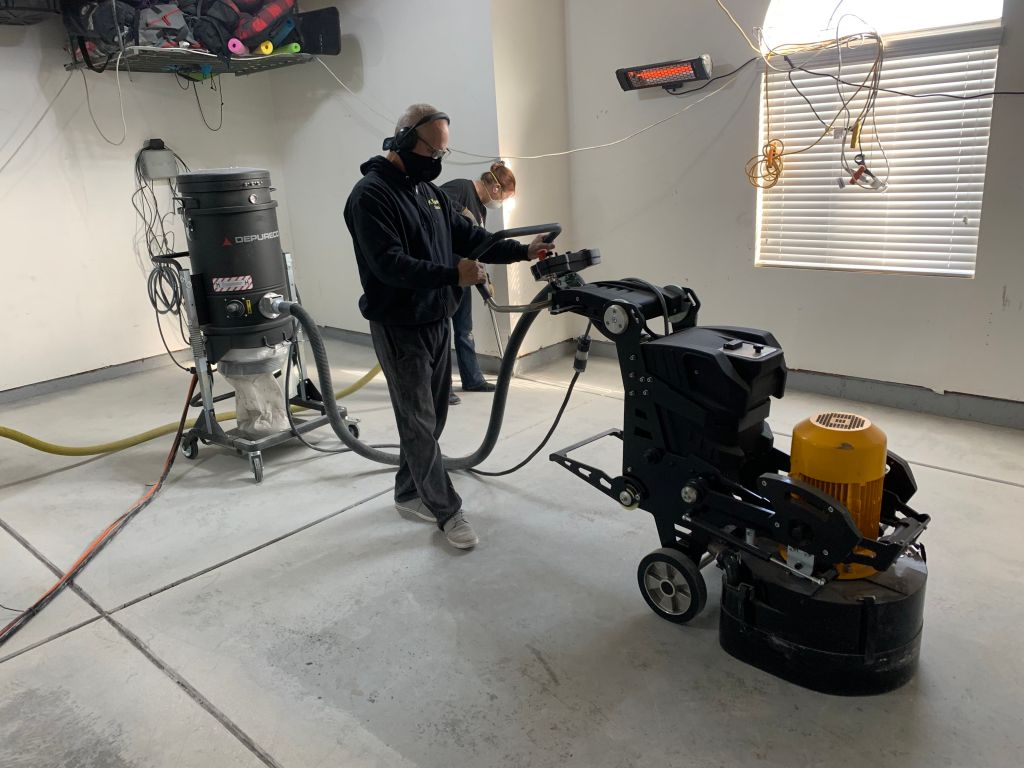
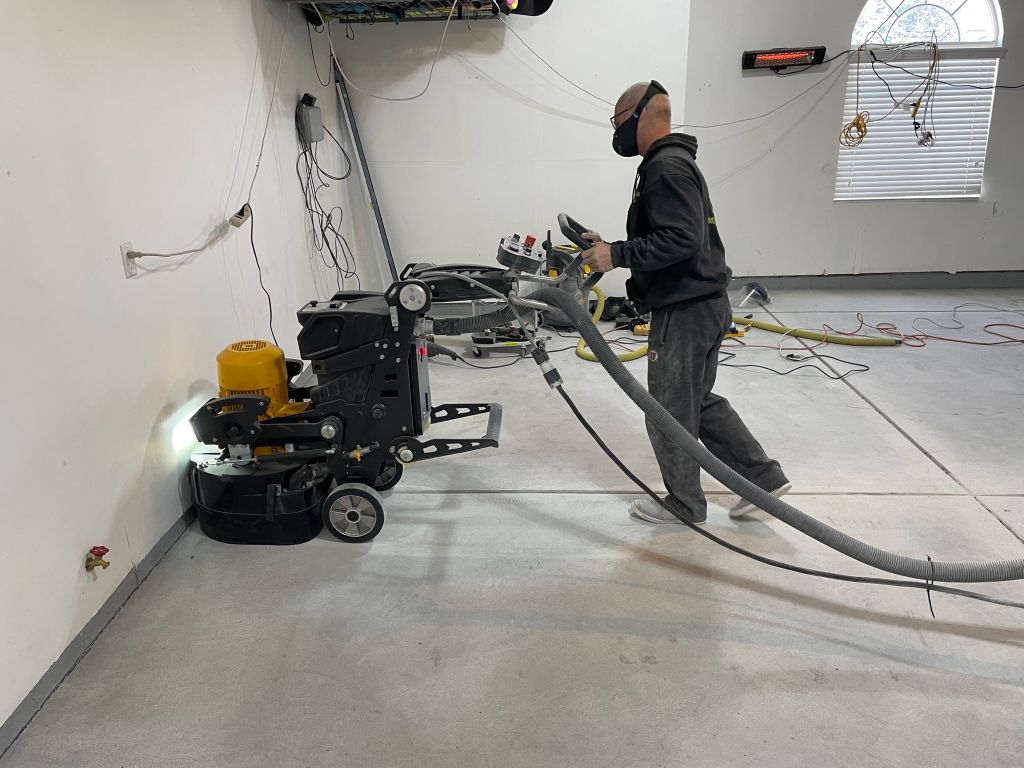
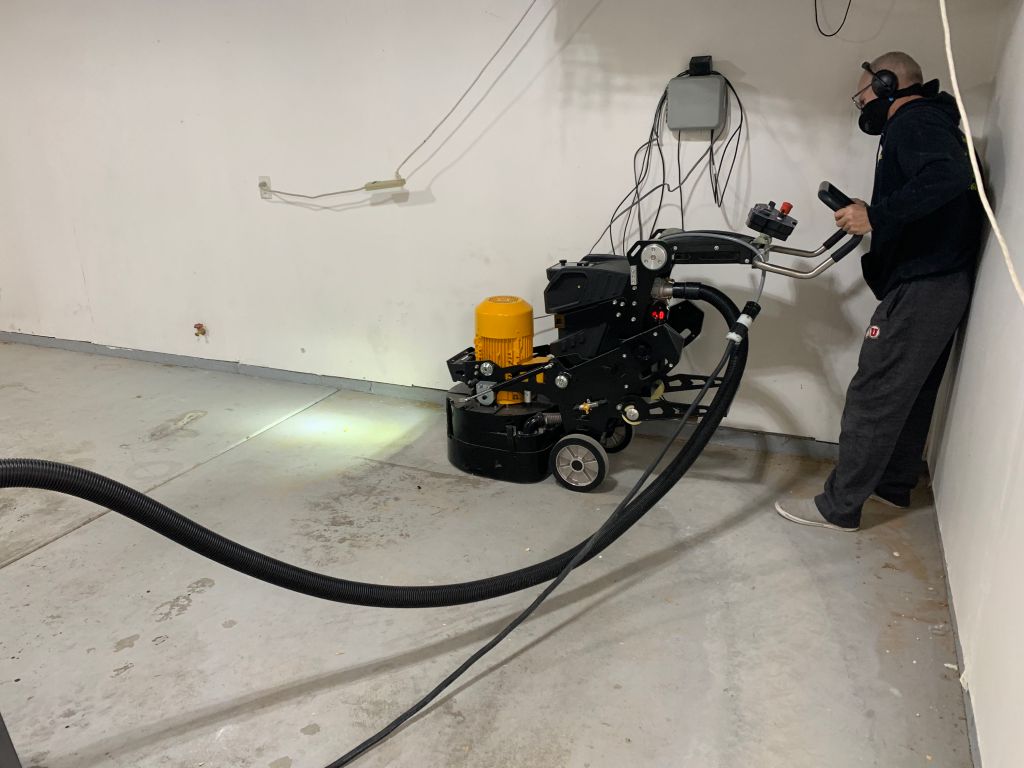
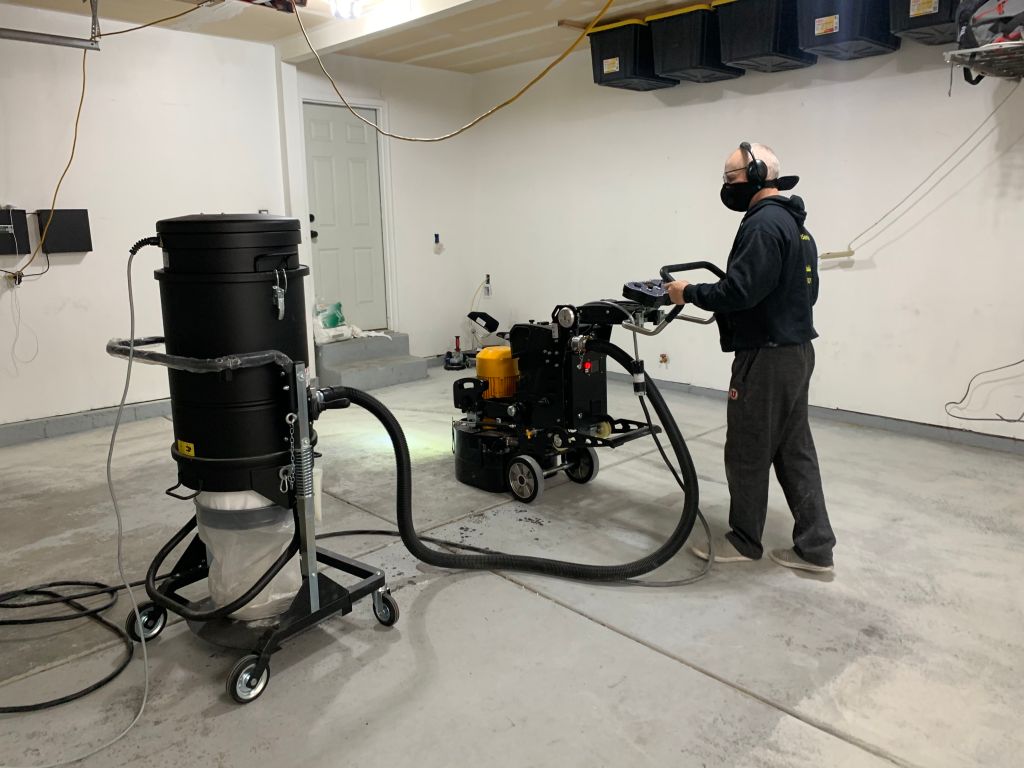
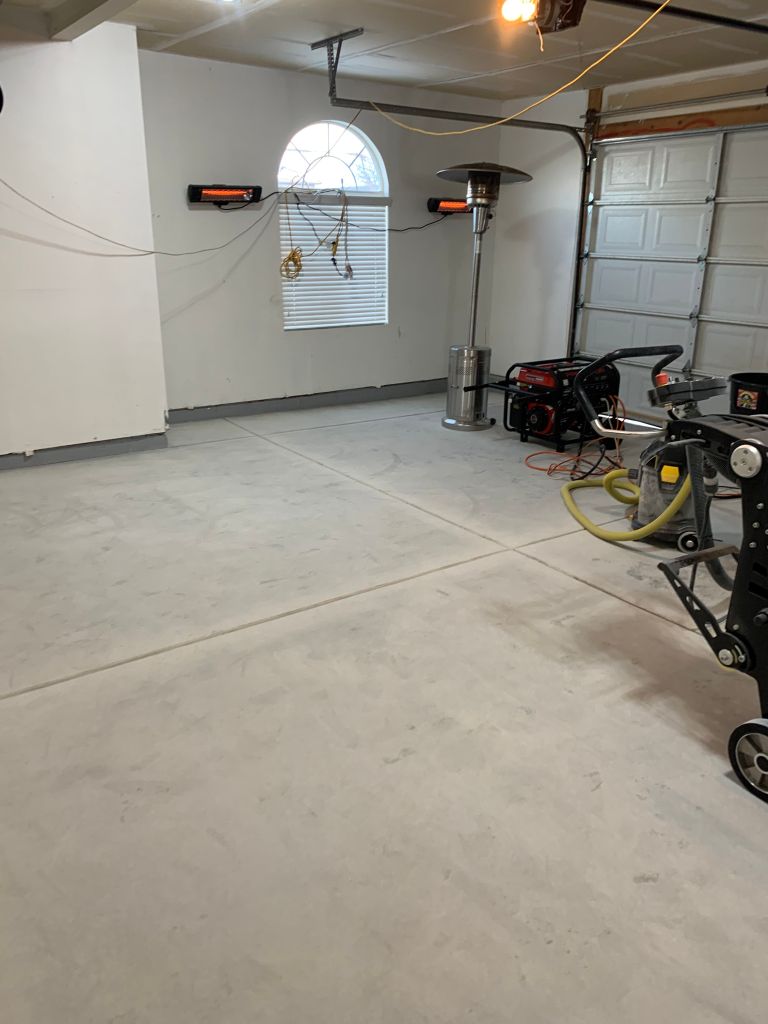
We grind the floor to remove stains, dirt, and any previous coatings.
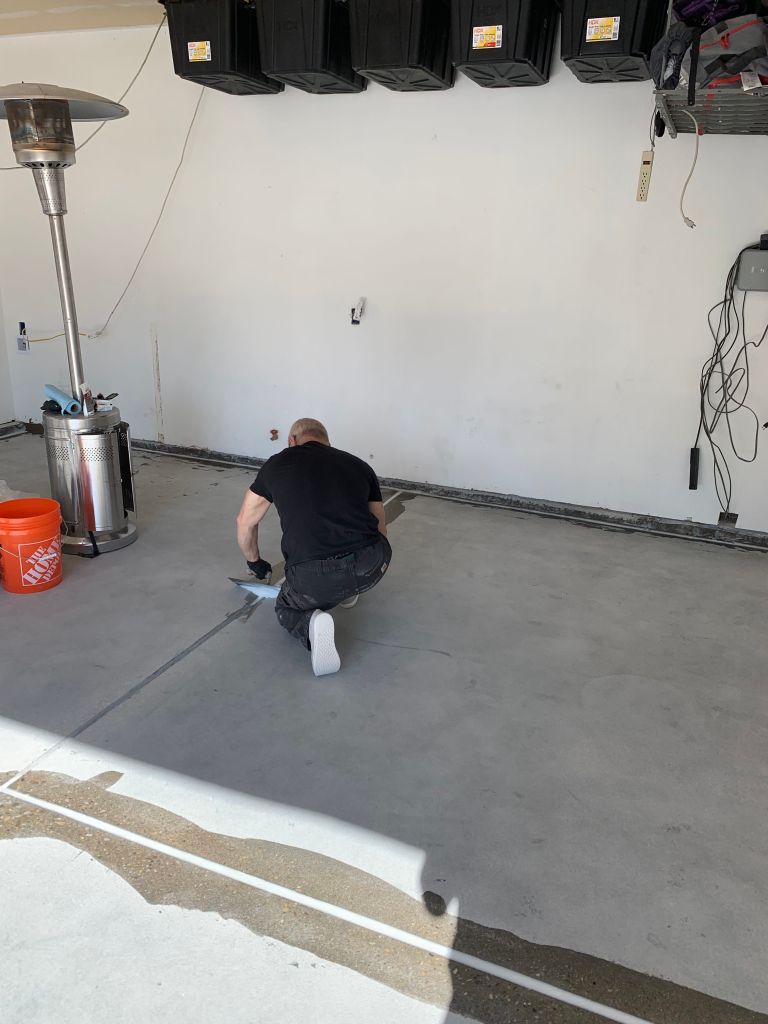
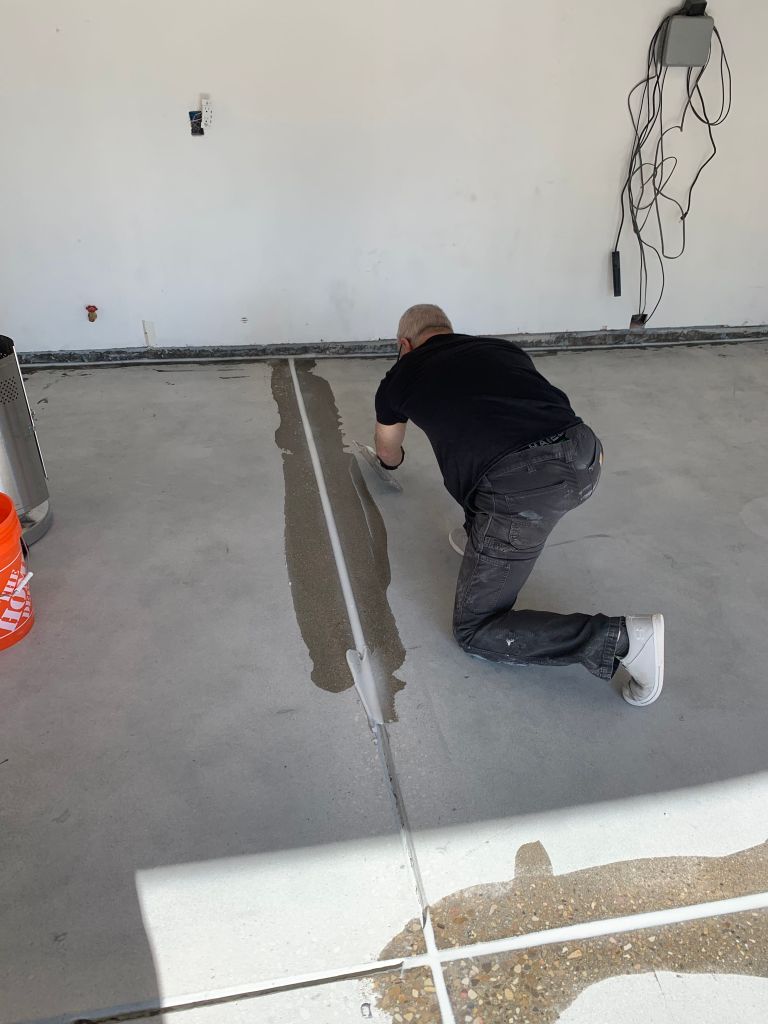
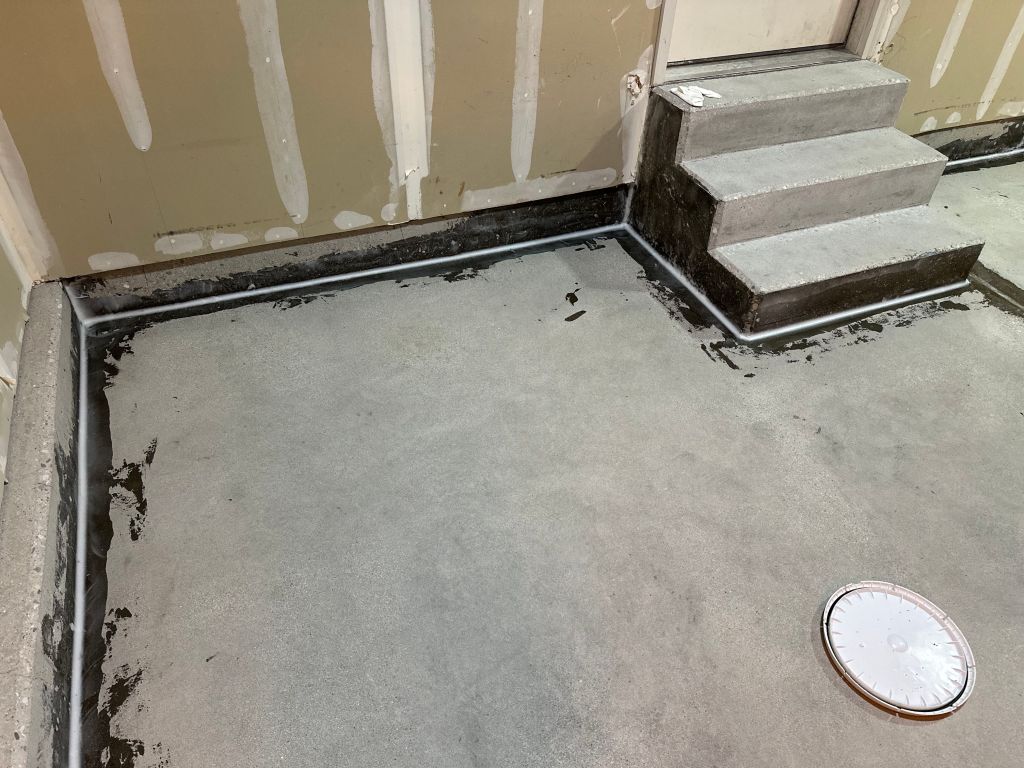
Cracks, chips, or imperfections are repaired using high-strength fillers for a smooth, even surface.
The area is vacuumed and cleaned thoroughly to remove all dust and debris, ensuring the epoxy adheres properly.
Step 3: Day 1 – Base Coat Application
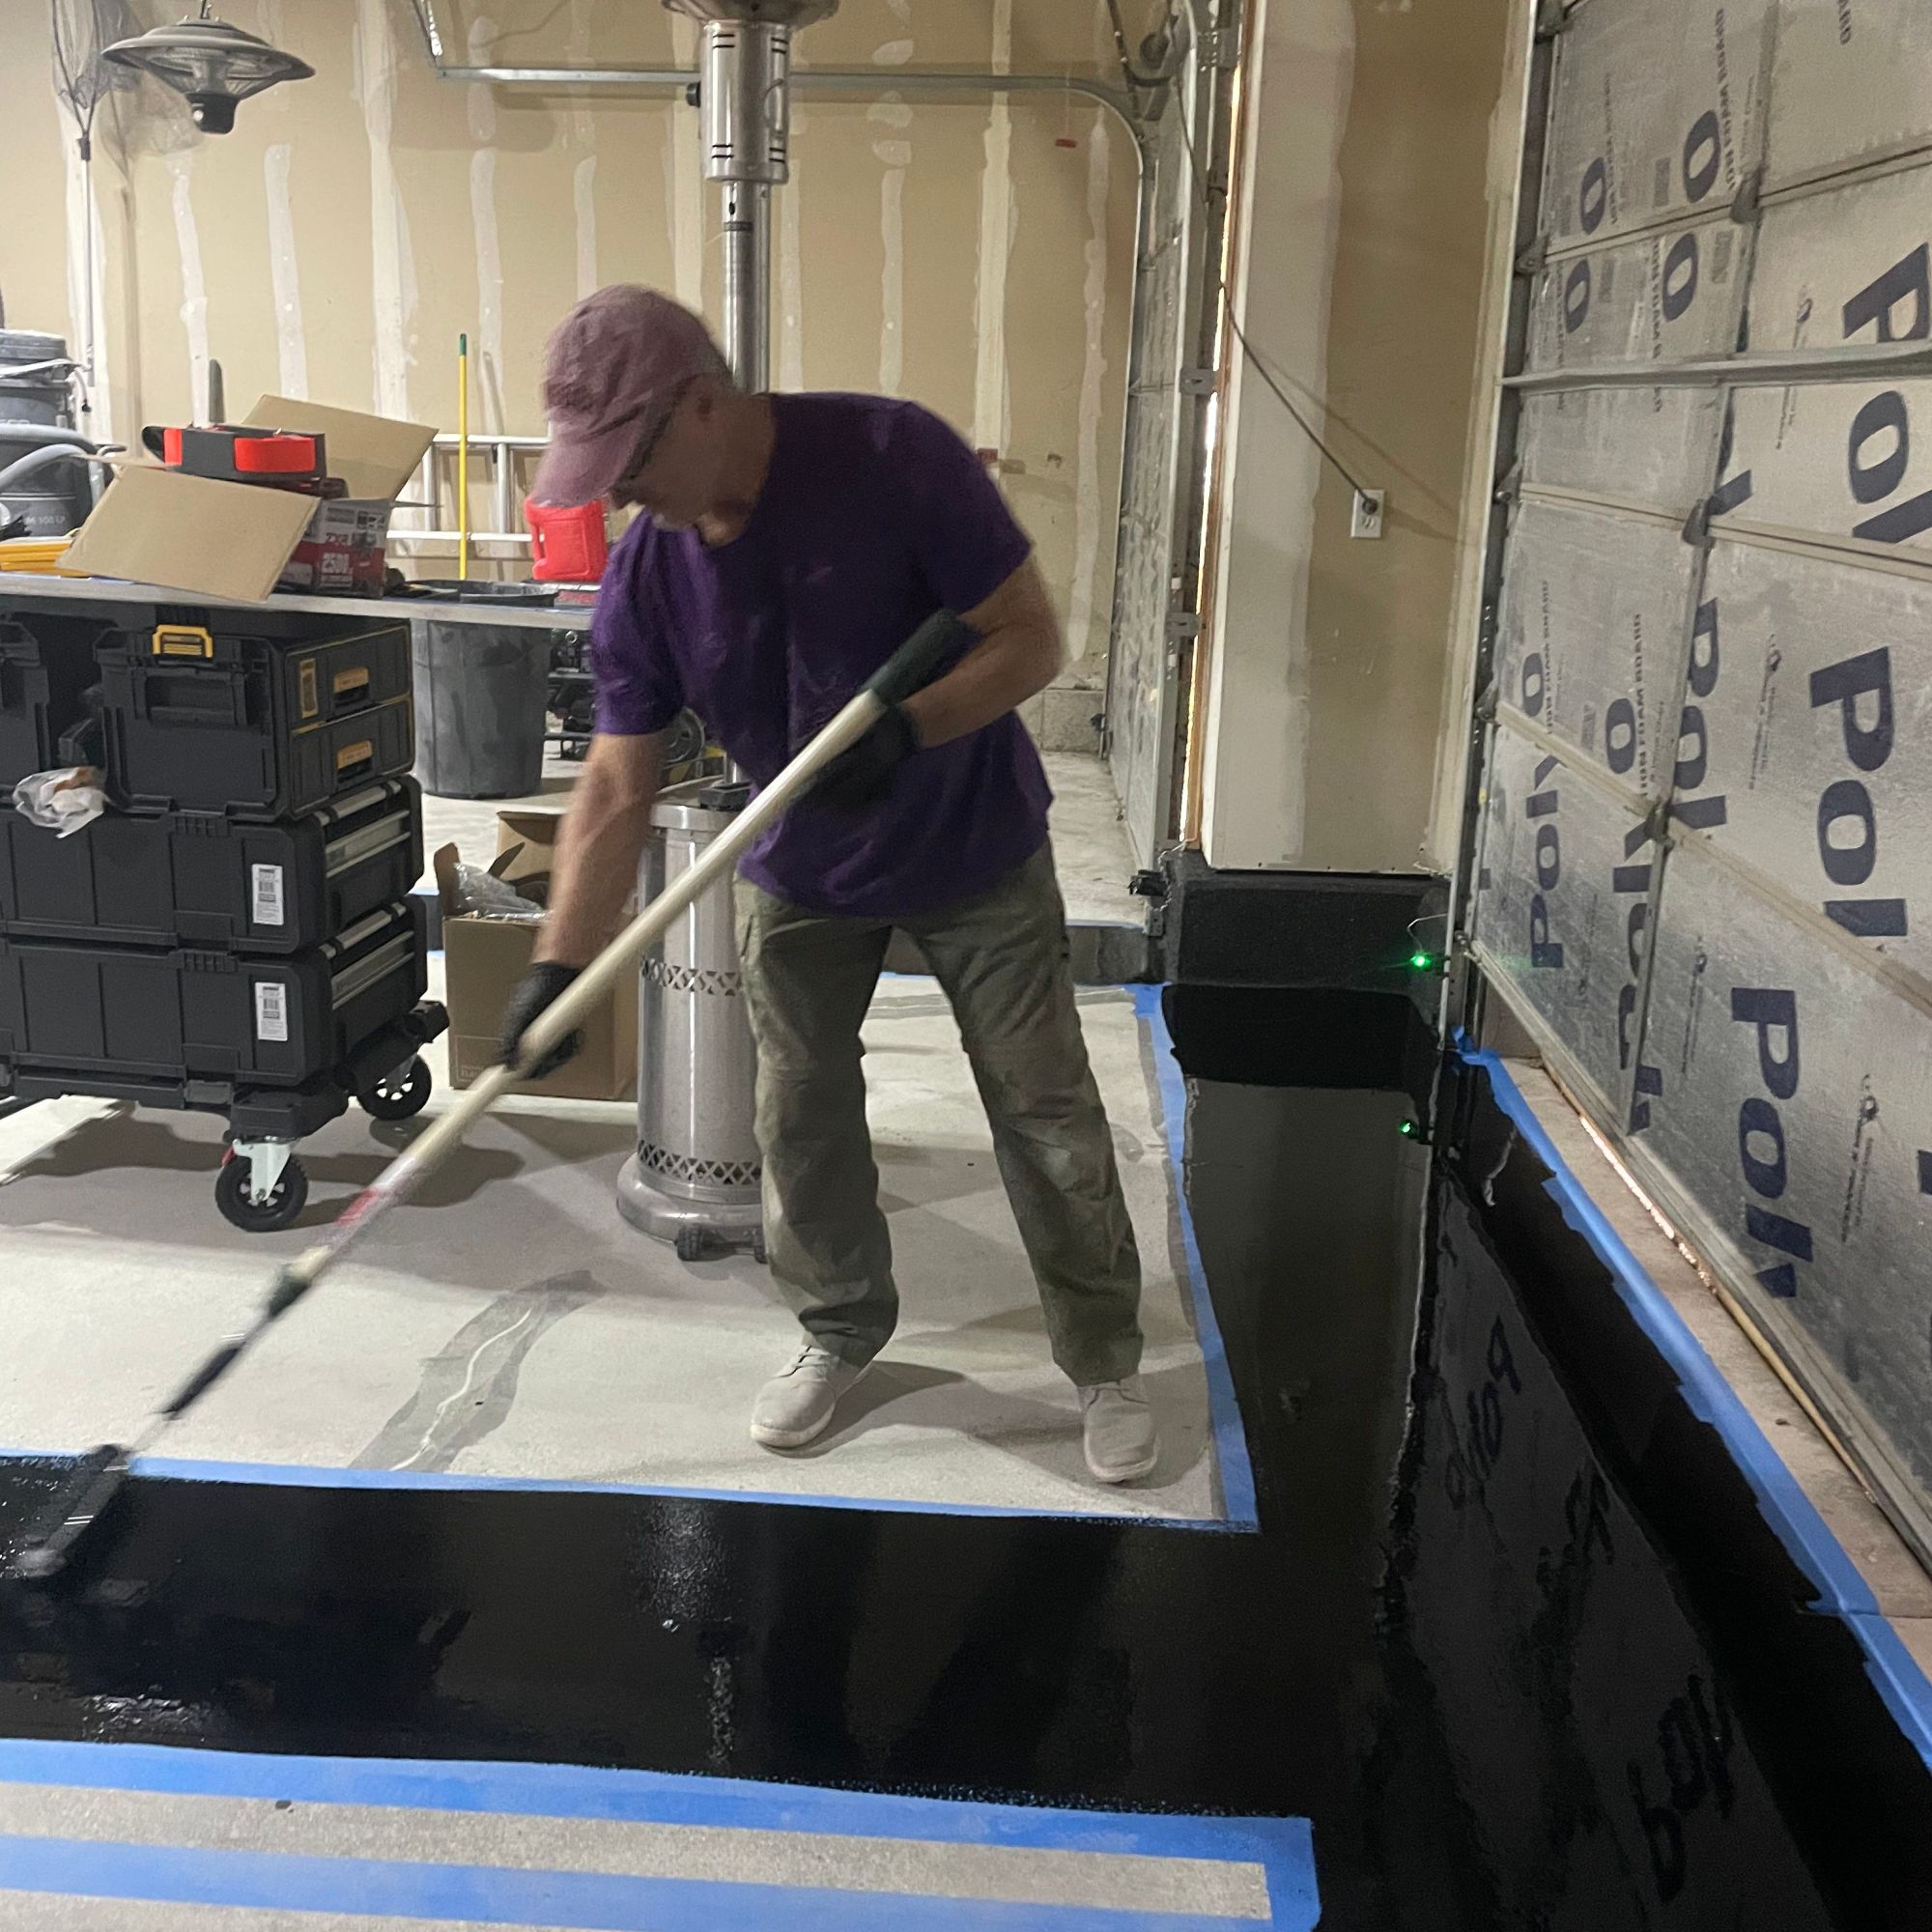
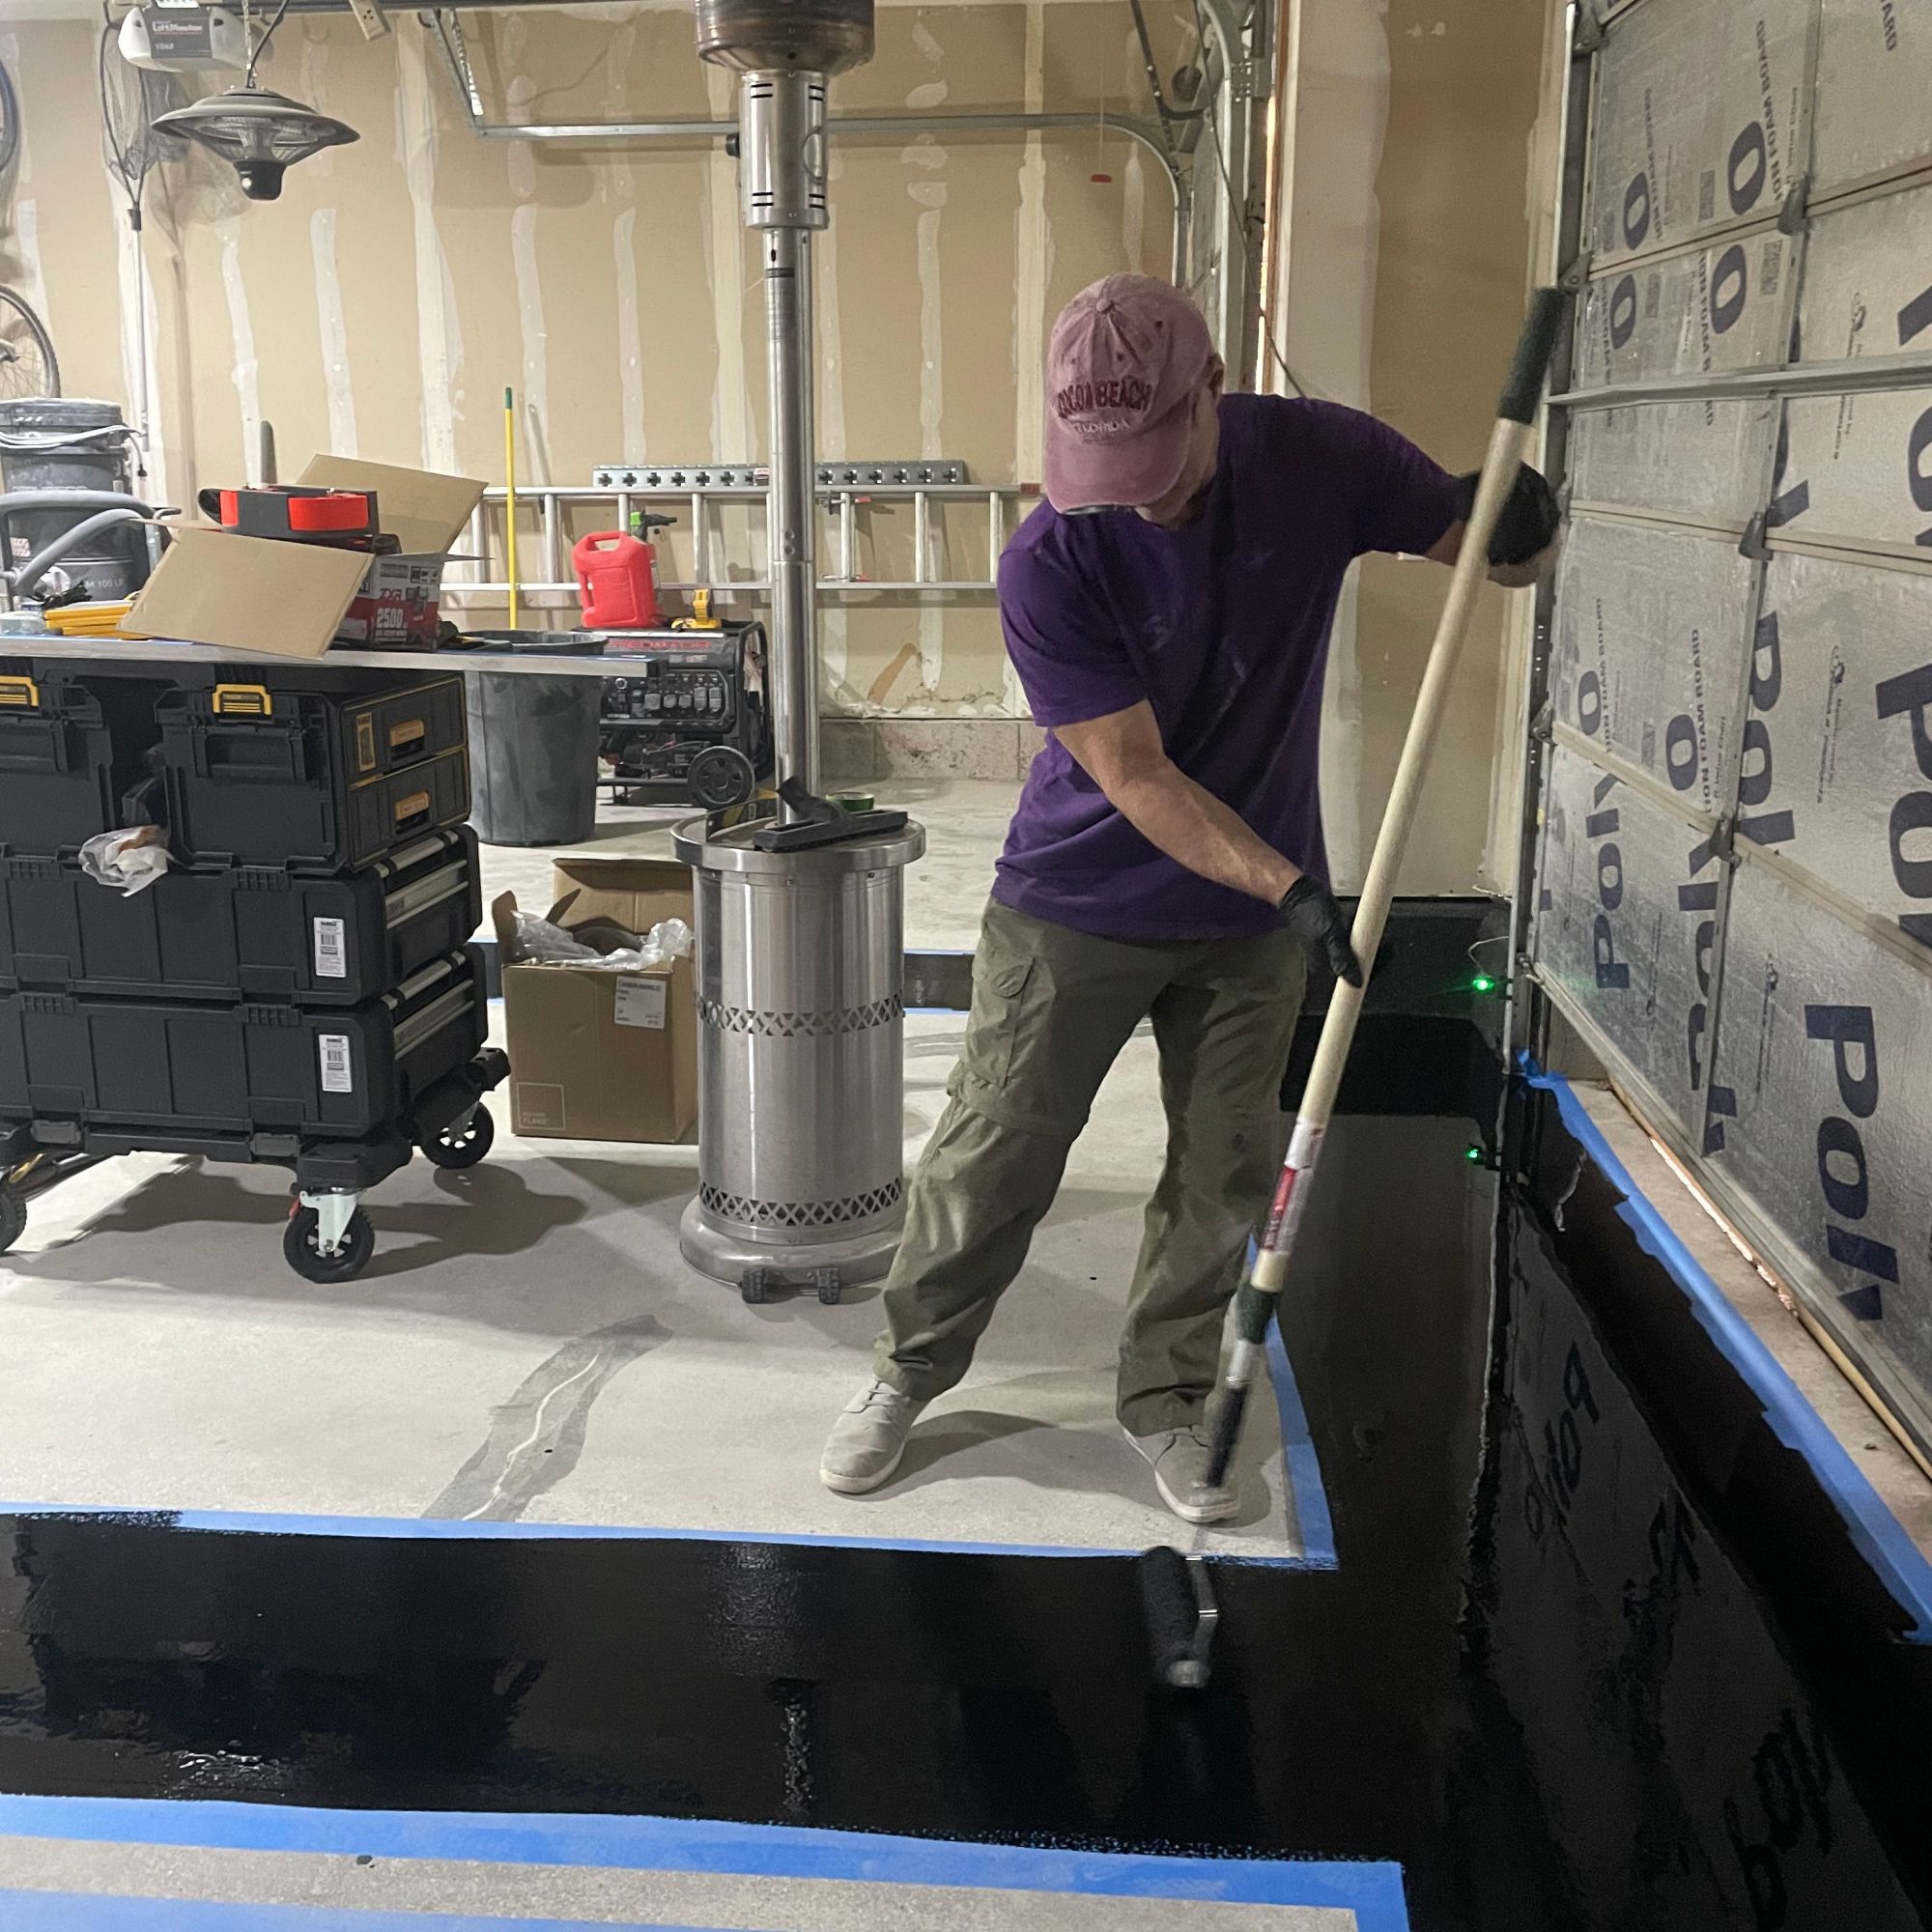
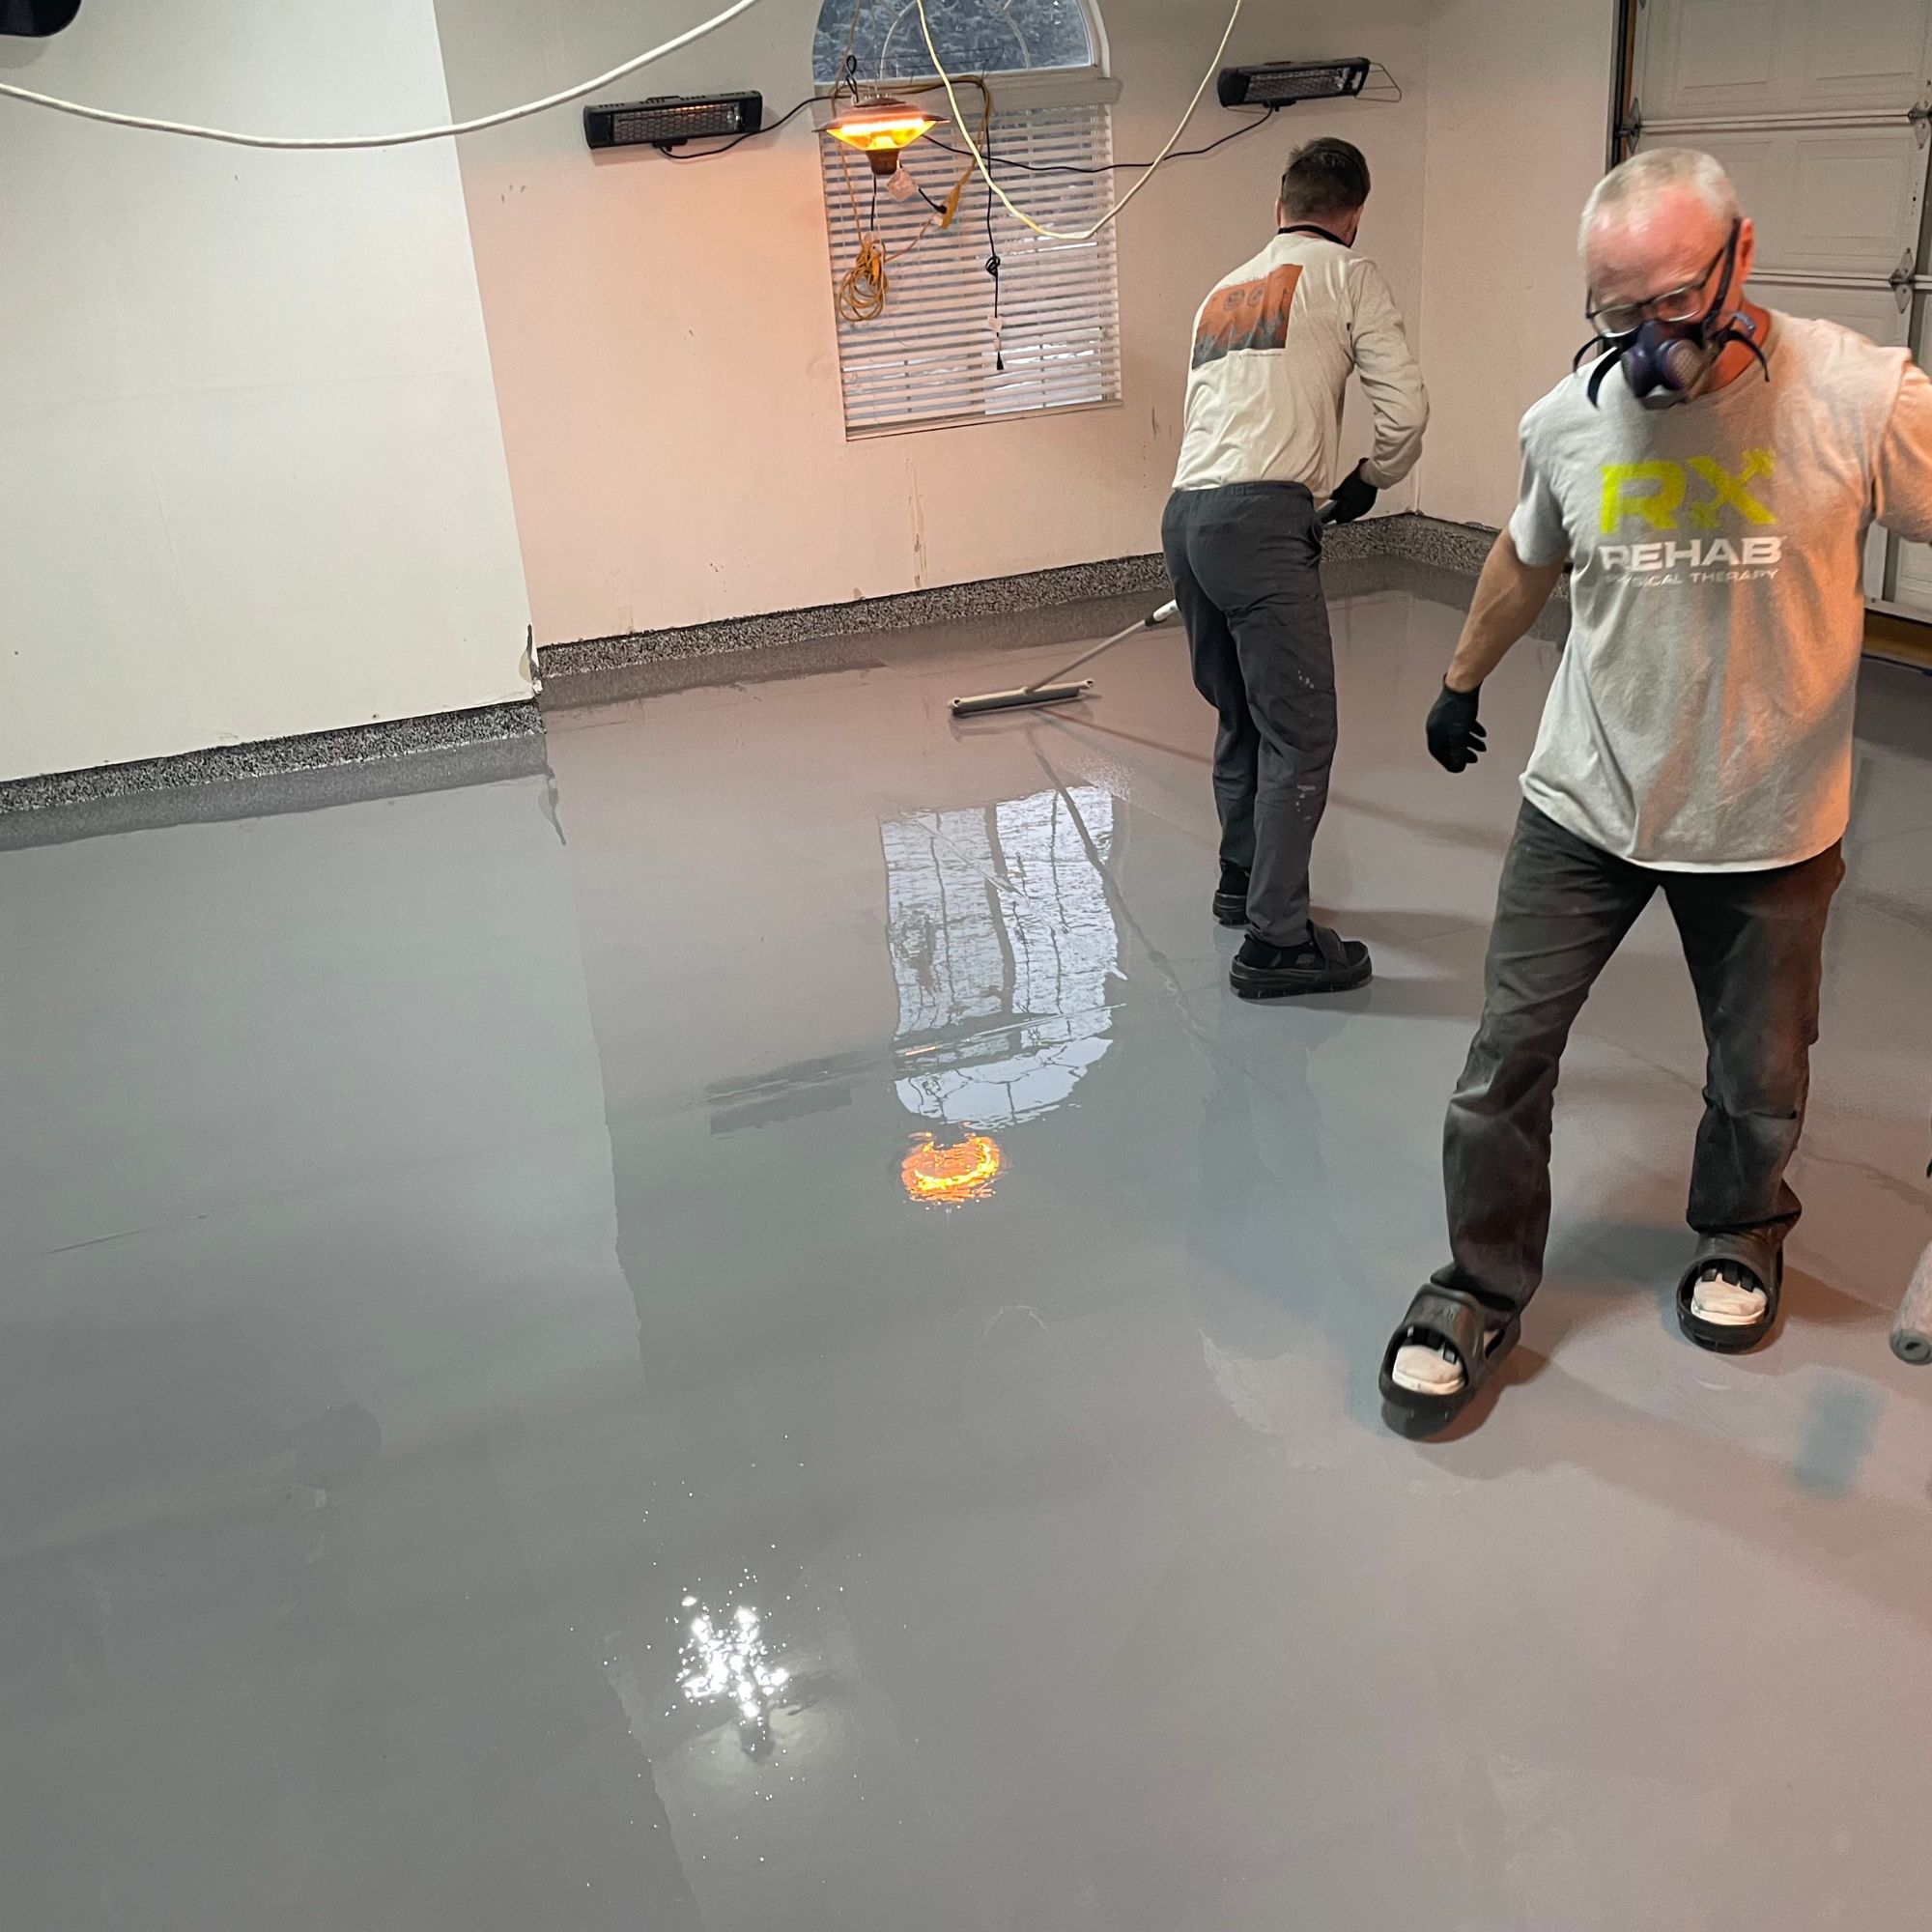
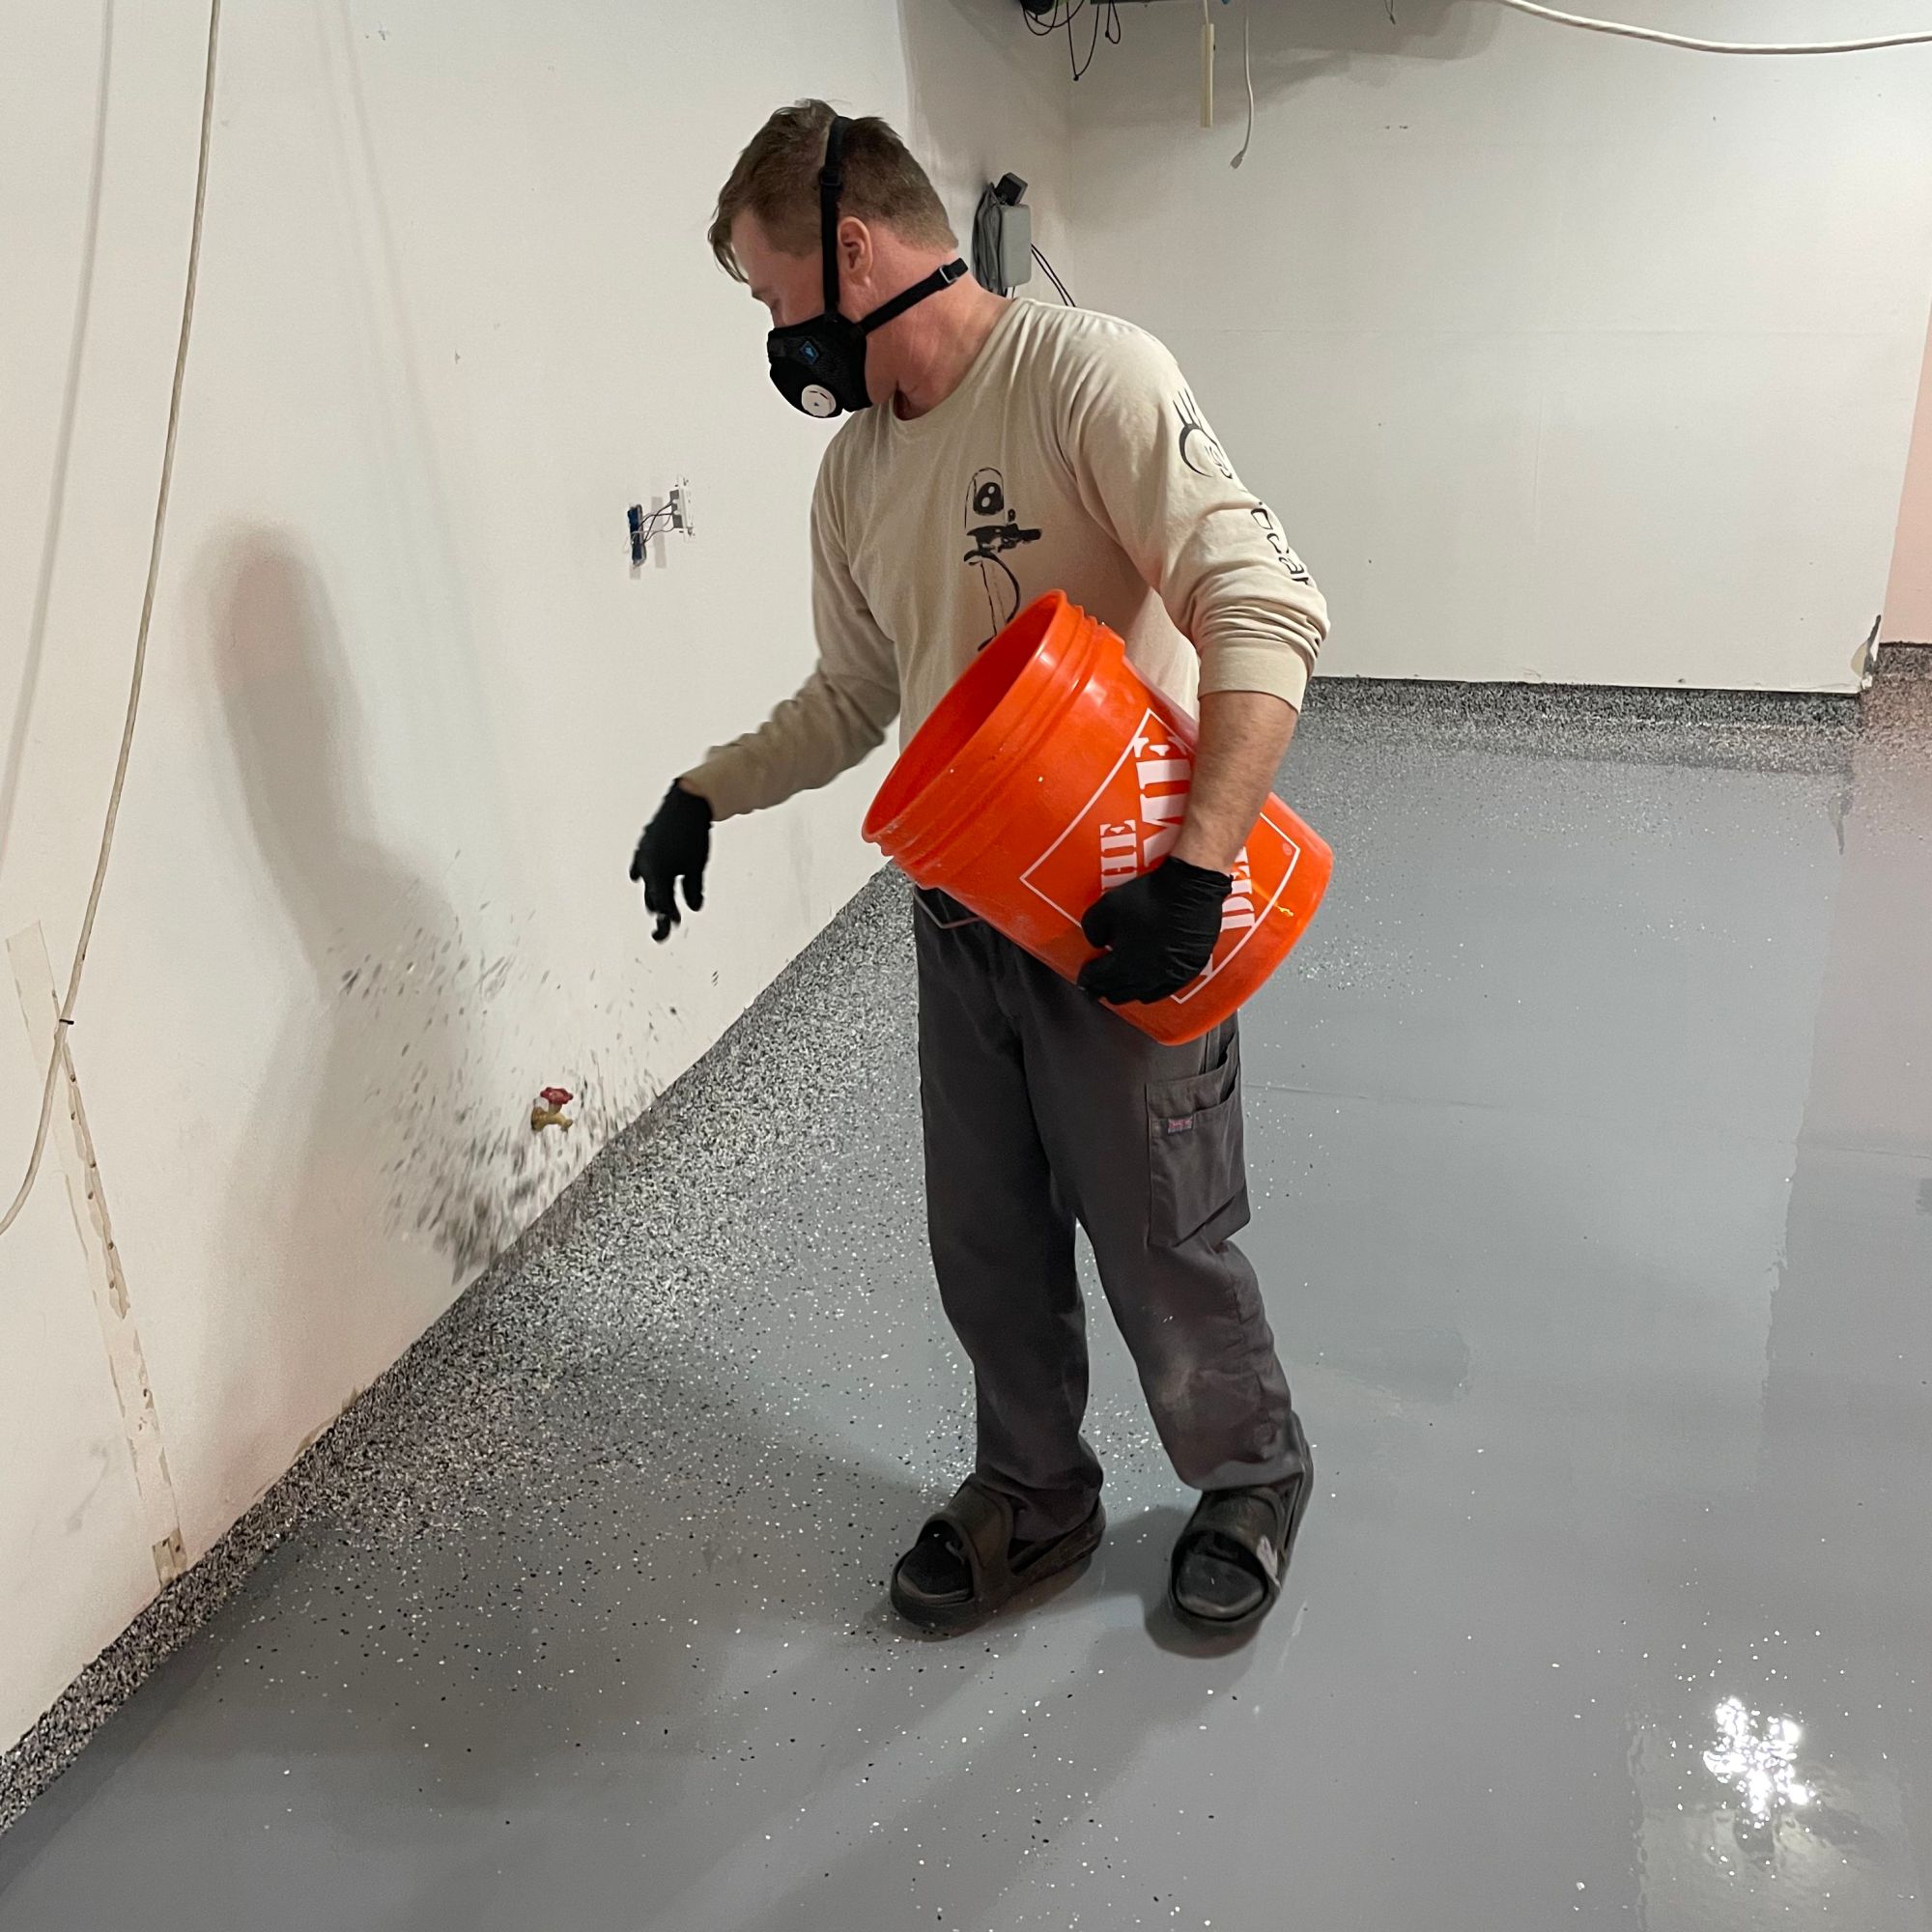
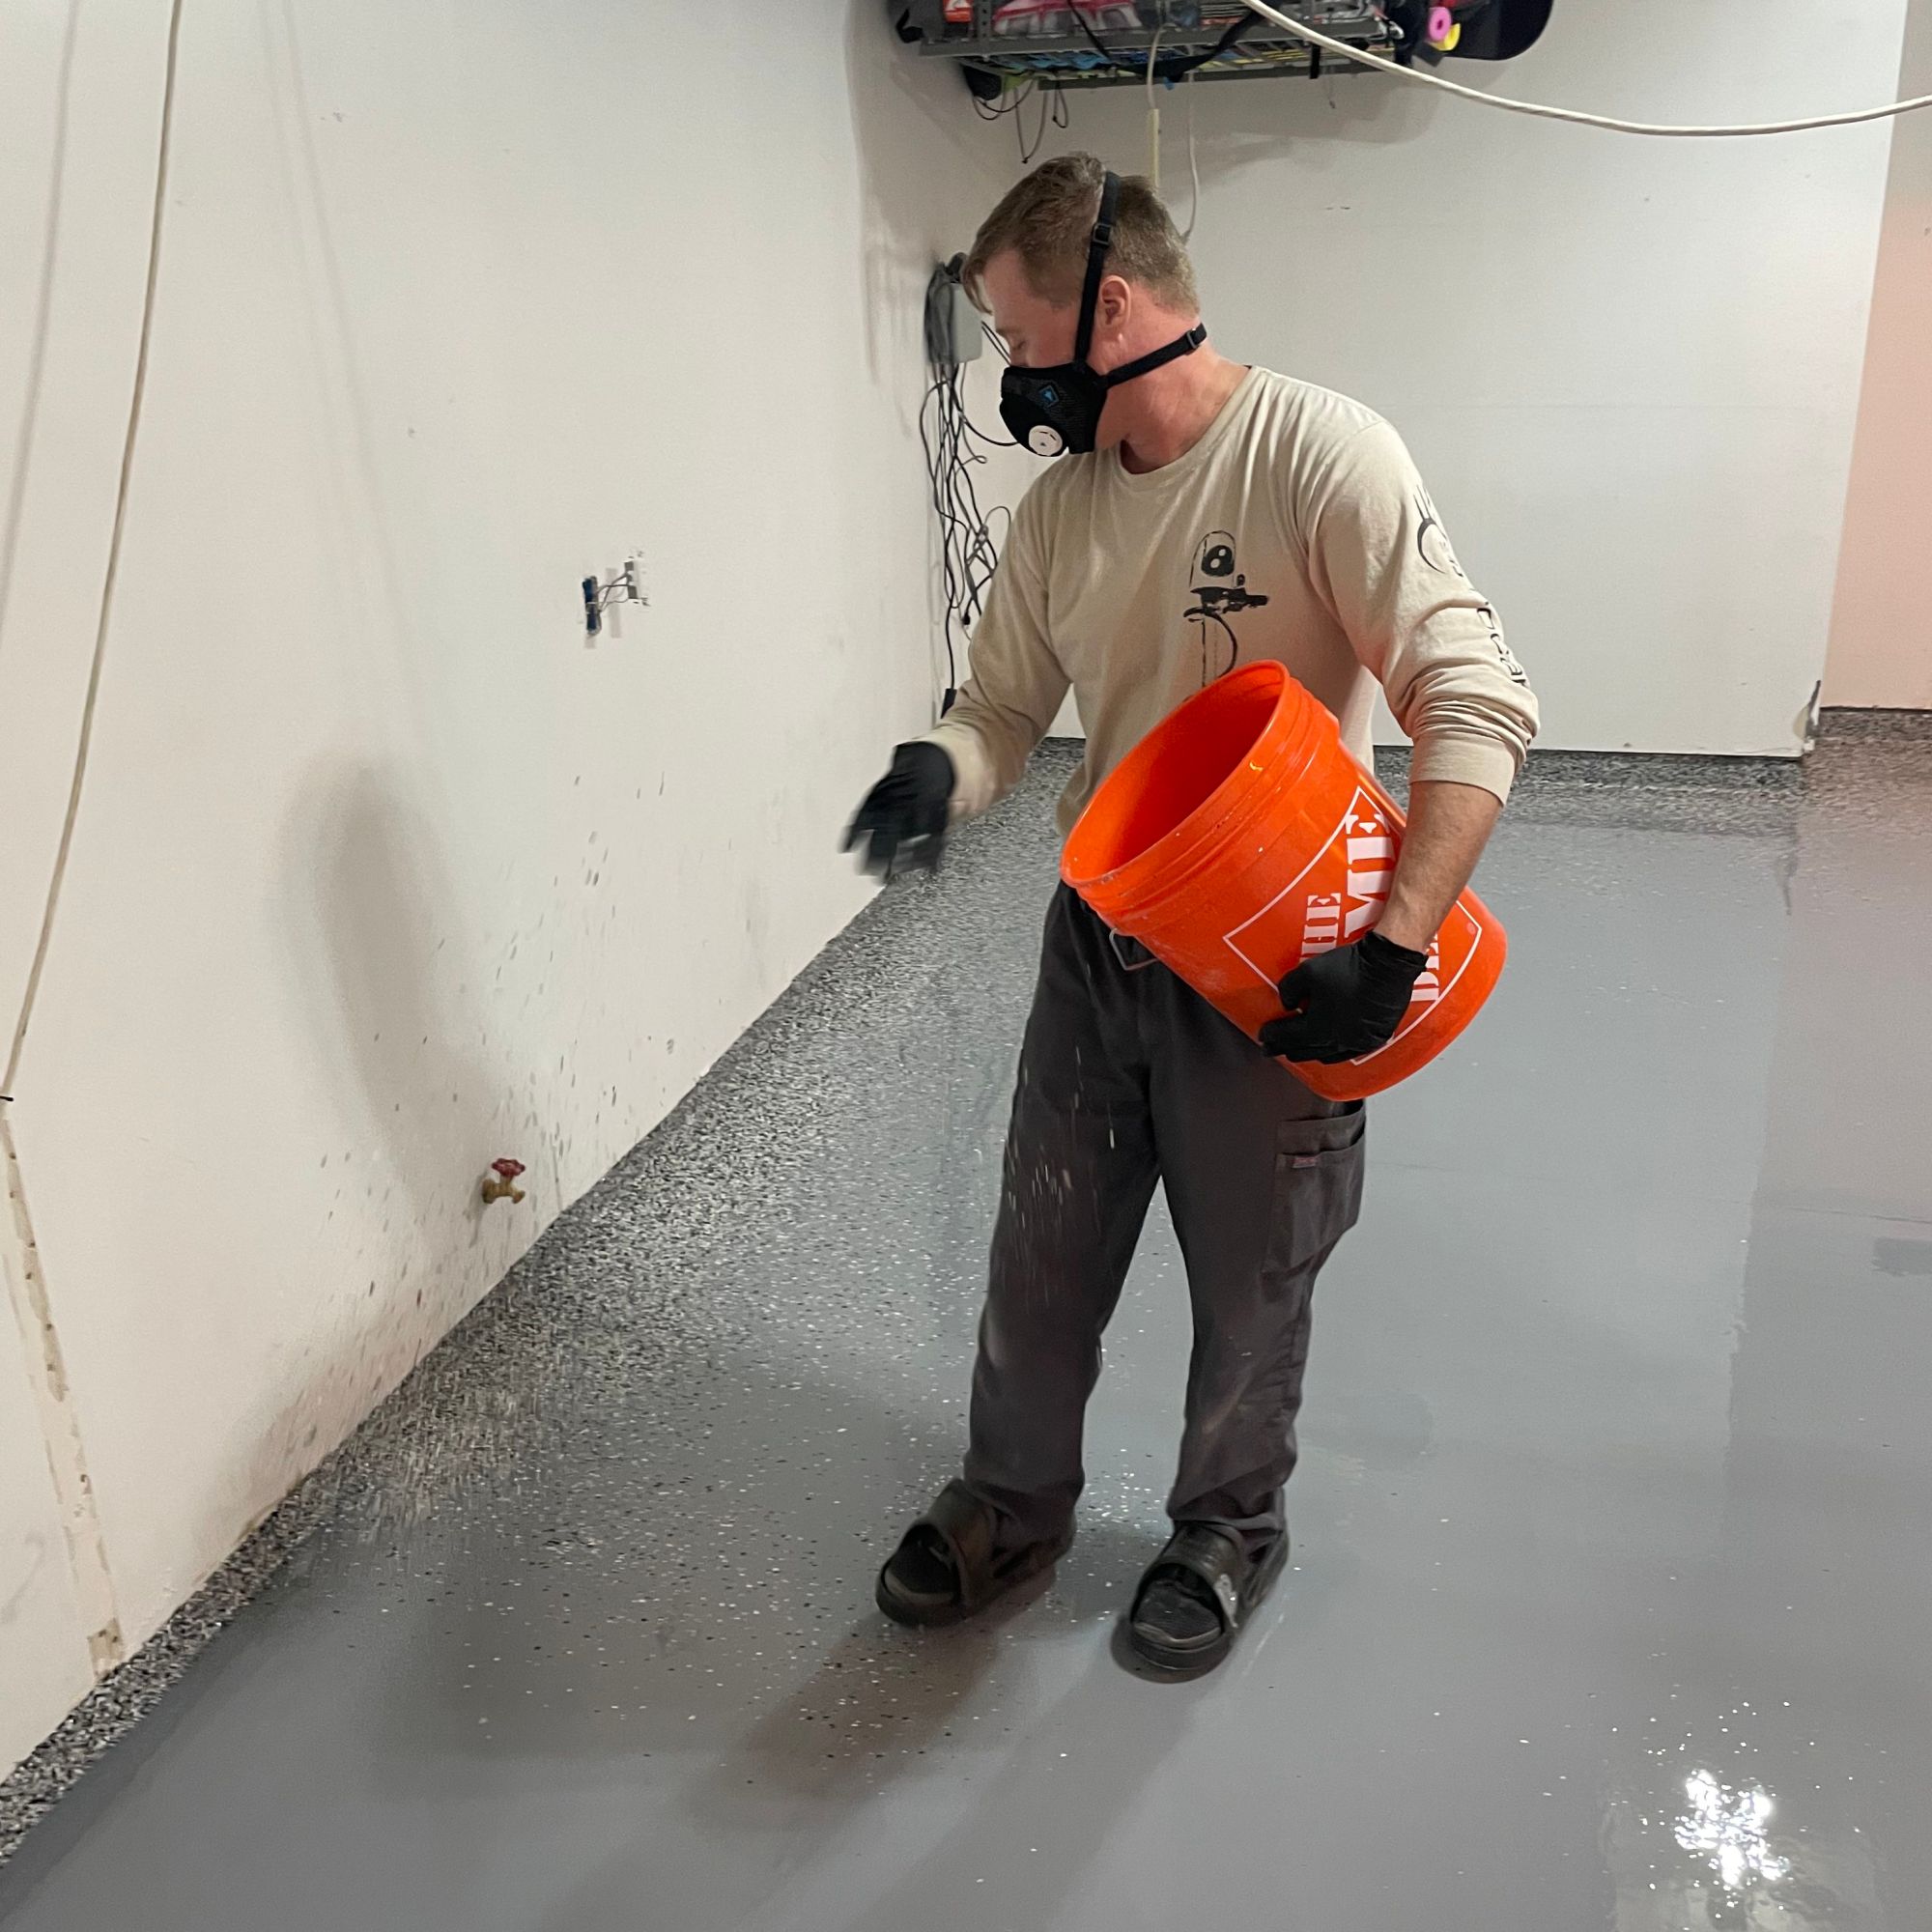
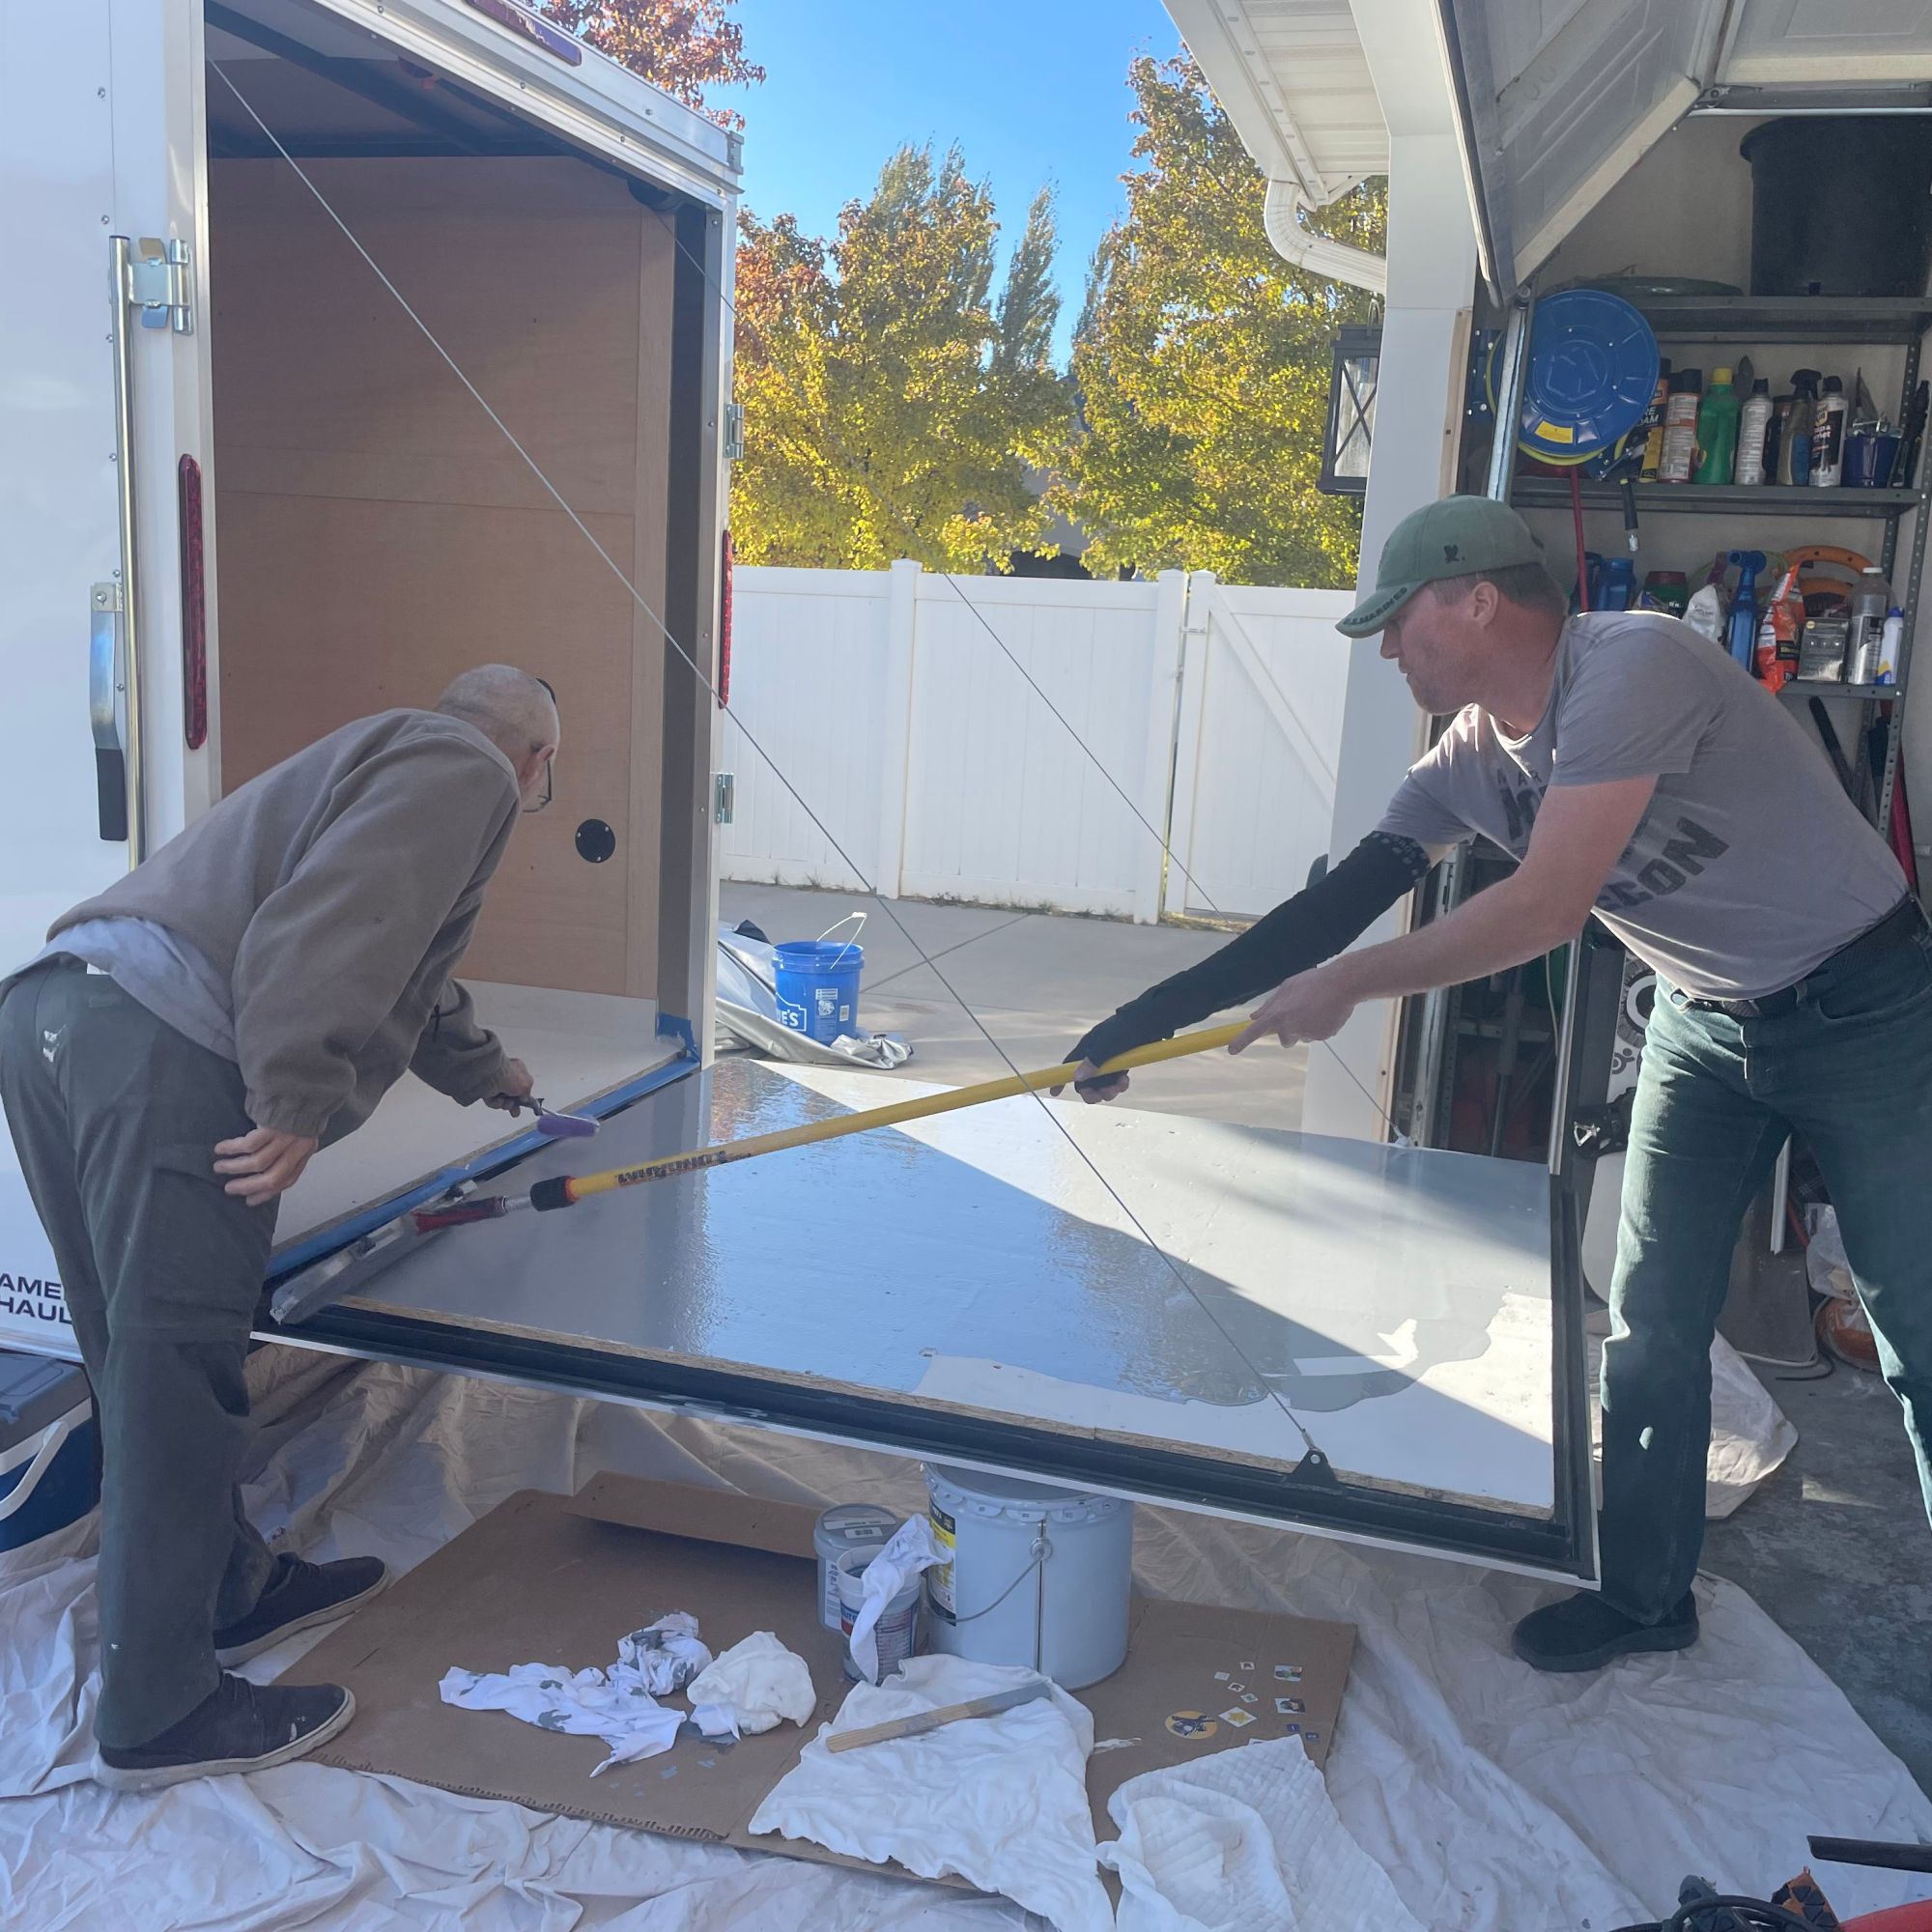
This step marks the beginning of the transformation.
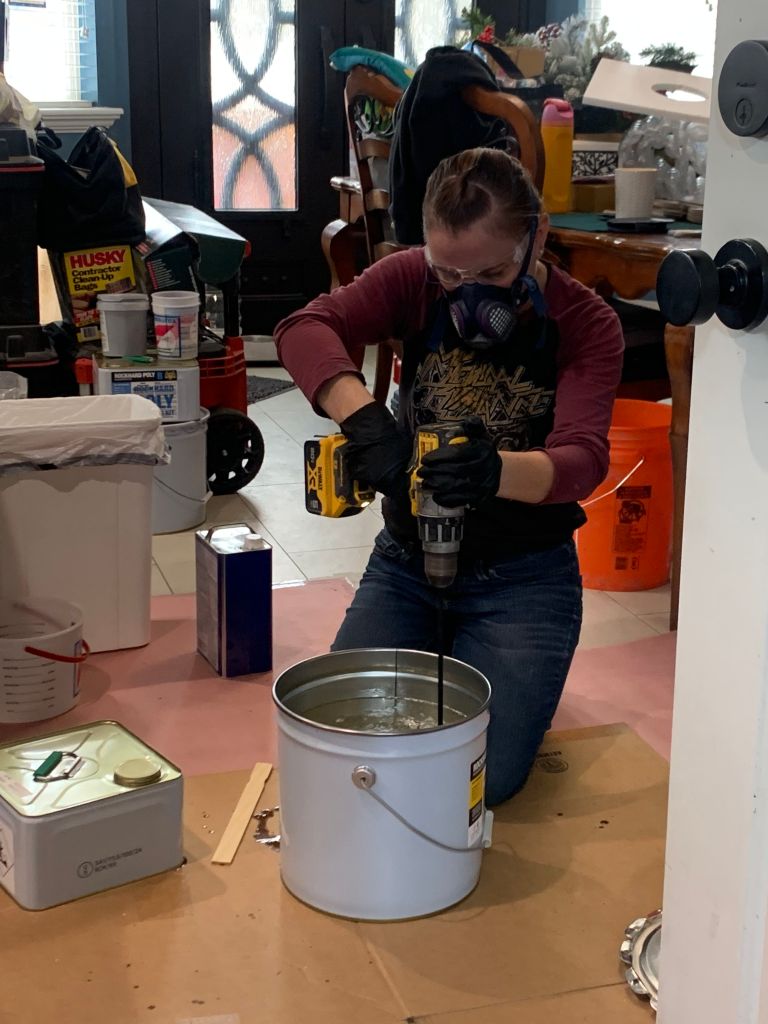
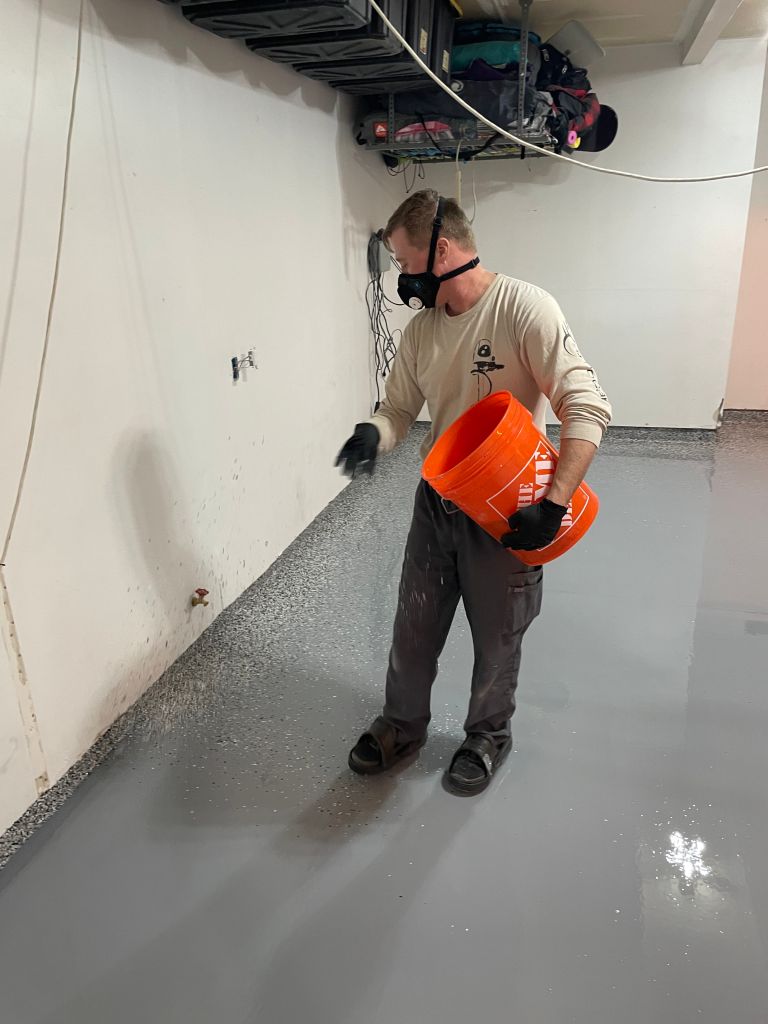
A durable base coat is applied, tailored to the epoxy system you’ve selected (e.g., solid color, flake, or quartz).
For decorative systems, flakes or quartz are broadcast onto the wet base coat for full coverage and slip resistance.
The base coat needs time to cure before we proceed. The base coat cures overnight (approximately 12–18 hours).
Step 4: Day 2 – Topcoat Application
On the final day, the topcoat is applied to seal and protect the floor.
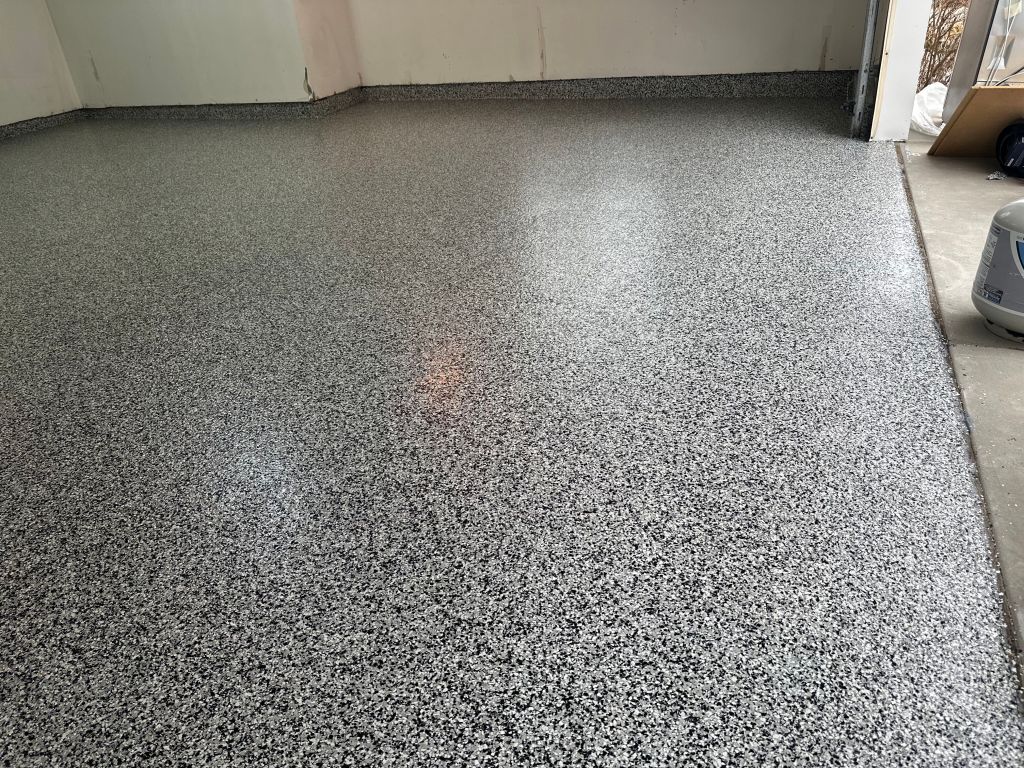
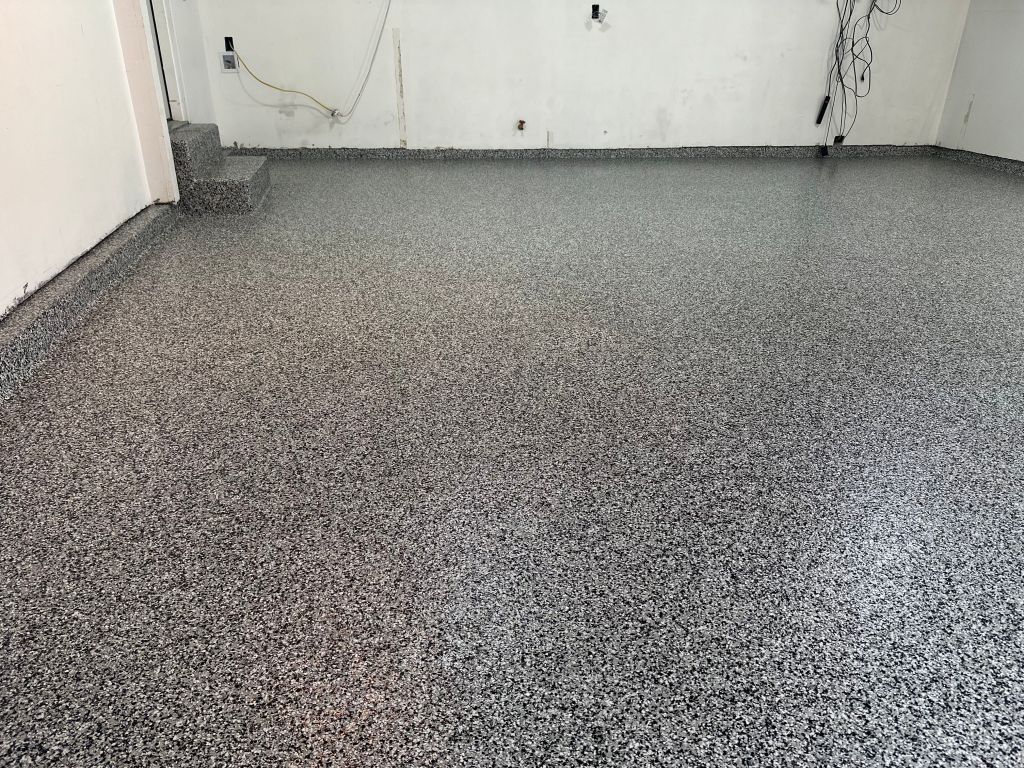
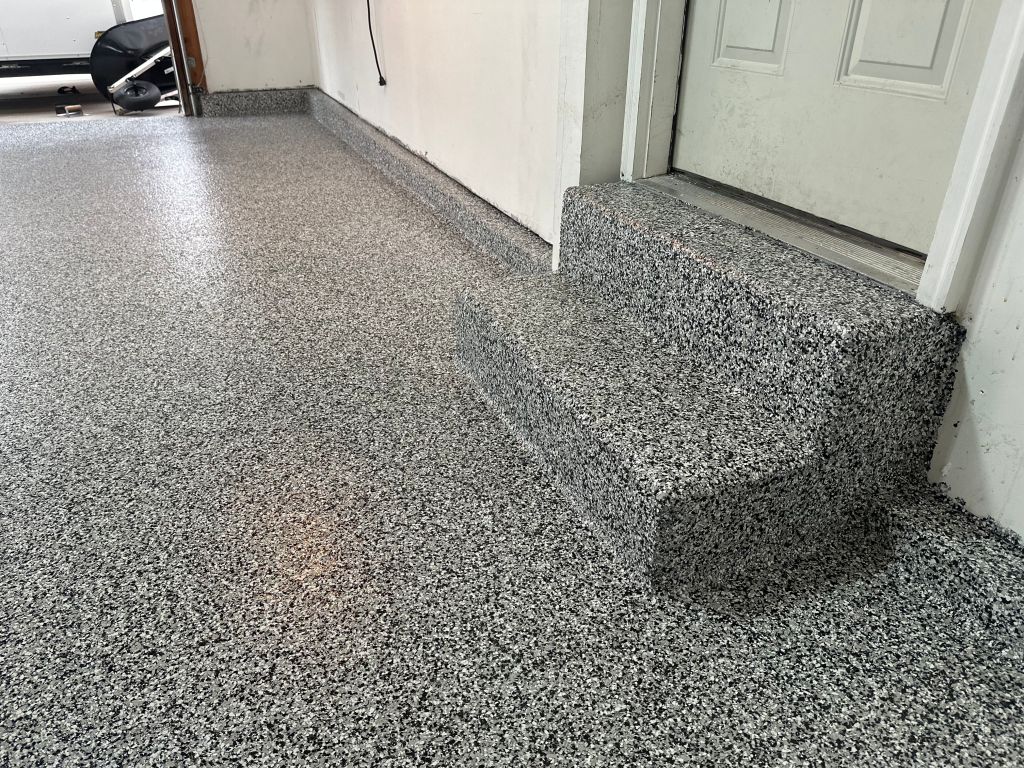
A clear or tinted topcoat locks in decorative elements, enhances durability, and provides the final finish—either smooth and glossy or textured.
This protective layer ensures your floor will withstand daily wear, spills, and heavy traffic. After the topcoat is applied, the curing process begins.
Curing and Usage Guidelines
Curing times are essential to ensure the floor bonds correctly and achieves maximum durability:
Light Foot Traffic: Safe after 12 hours.
Move Items Back: After 24 hours.
Vehicle Use: Wait at least 72 hours for full curing.
Note: Cold temperatures will affect cure times. Please consult installation team for curing time adjustments.
Optional Services to Simplify Your Project
If your garage is filled with items, we can help clear the space to prepare for installation. For an additional charge, we offer labor to remove items or can arrange for a storage POD to be delivered to your driveway. This allows you to focus on the results while we handle the preparation.
Our methodical process ensures exceptional results and a garage floor that is both stunning and built to last. With our team’s expertise and attention to detail, we’ll transform your space into a durable, polished surface you’ll love for years. Contact us today to schedule your consultation and get started!
